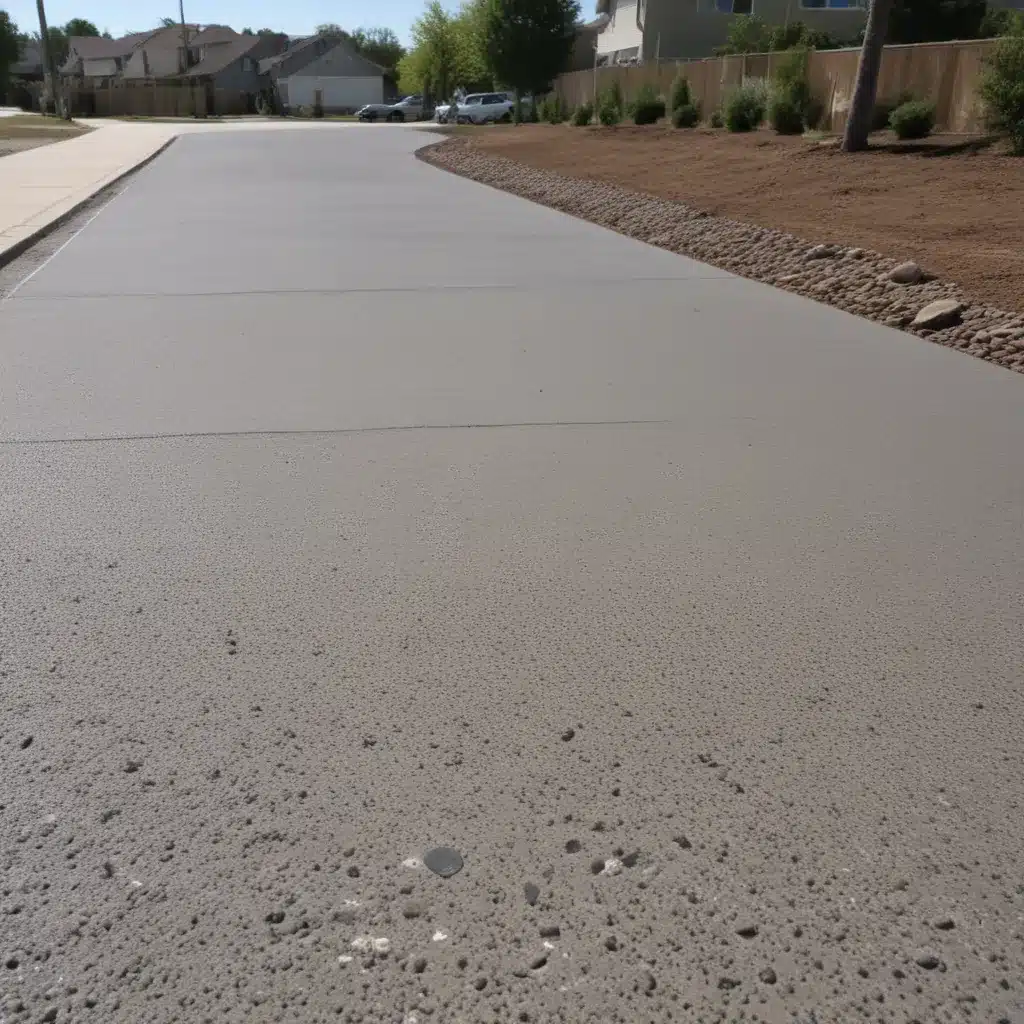
The Driveway Dilemma: Turning an Eyesore into a Masterpiece on a Shoestring
As I stood admiring my freshly paved driveway, the sense of pride was palpable. But let’s be honest, that feeling didn’t last long. Before I knew it, cracks began to appear, weeds sprouted through the asphalt, and the once-gleaming surface started to resemble a lunar landscape. Suddenly, my pride and joy had transformed into an unsightly blemish, a constant reminder that I needed to take action.
Assessing the Situation: Is Replacement the Only Option?
Now, I know what you’re thinking: “Time to call in the professionals and get that driveway replaced!” But hold on a second, my budget-conscious friends. Replacement may seem like the obvious solution, but it’s also the most expensive one. As I delved deeper into the world of driveway renovations, I discovered a plethora of cost-effective options that could breathe new life into my tired, old driveway.
Crack Repair: Sealing the Deal on a Shoestring
One of the first things I tackled was the dreaded cracks. They were an eyesore, but more importantly, they posed a threat to the structural integrity of my driveway. Ignoring them would only lead to further deterioration and a more costly repair down the line. I decided to take matters into my own hands and learn the art of crack repair.
Turns out, it’s a relatively straightforward process that doesn’t require a degree in engineering. I simply purchased a driveway crack filler from my local hardware store, cleaned the affected areas, and set to work. The transformation was almost instant – those unsightly cracks disappeared, and my driveway looked years younger. The best part? The entire project cost me less than £50!
Power Washing: Bringing Back the Shine
With the cracks taken care of, my next mission was to tackle the accumulated grime and stains that had taken over my driveway. I’ll admit, I was a bit hesitant at first – power washing can be a daunting task, and I was worried I might end up doing more harm than good. But after watching a few tutorial videos and arming myself with the right equipment, I was ready to take on the challenge.
Let me tell you, the results were nothing short of astounding. Gone were the oil spills, the muddy splatters, and the general debris that had been weighing down my driveway’s appearance. In their place, a sparkling clean surface emerged, almost as good as new. And the best part? I didn’t have to shell out a small fortune to a professional power washing service. A few hours of elbow grease and a rental from the local hardware store had done the trick.
Resurfacing: A Facelift for a Fraction of the Cost
Now, I know what you’re thinking: “But what about the potholes and general unevenness of the surface?” That’s a valid concern, and I’ll admit, it’s one that had me a bit stumped at first. Replacement seemed like the only option, but as we’ve established, that’s a pricey proposition.
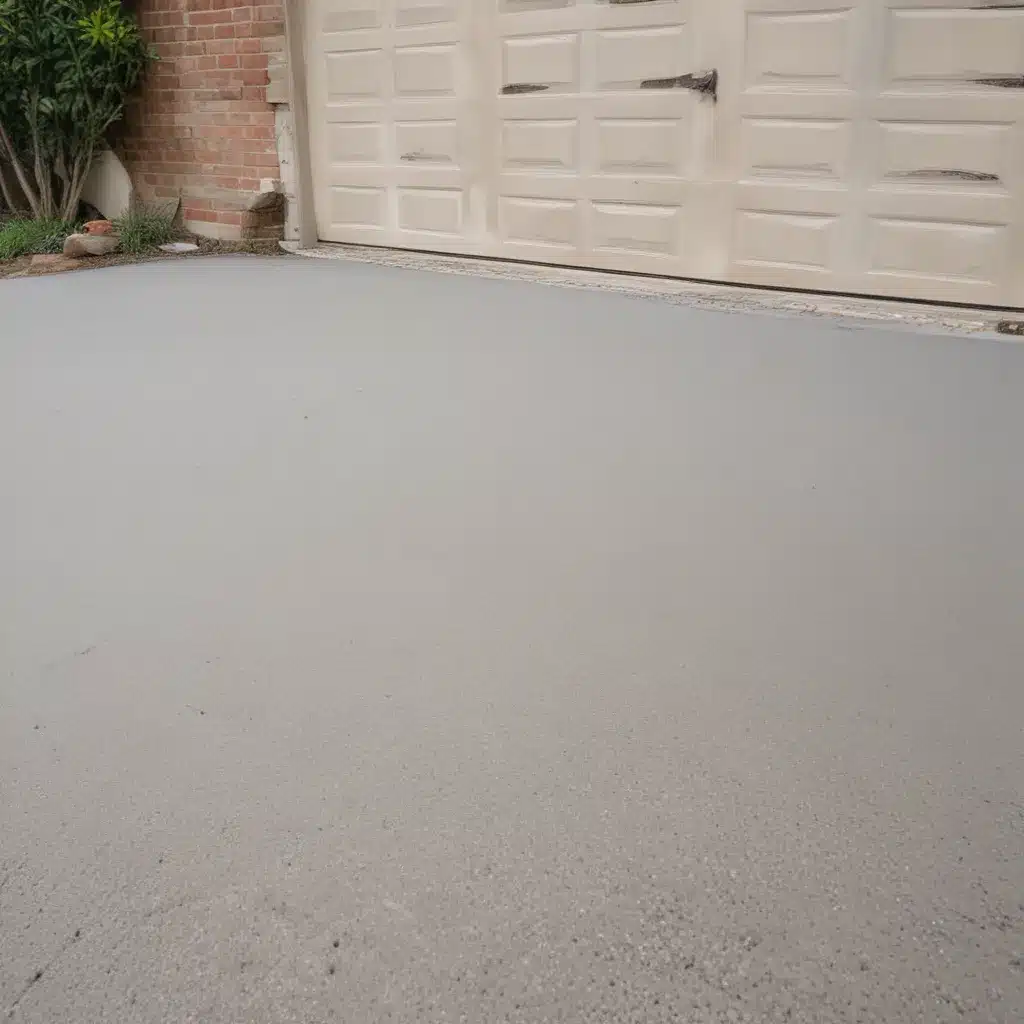
That’s when I discovered the magic of driveway resurfacing. Instead of tearing up the entire driveway and starting from scratch, I could simply apply a fresh layer of asphalt or concrete over the existing surface. It’s a bit like getting a facelift for your driveway – a transformative change that doesn’t break the bank.
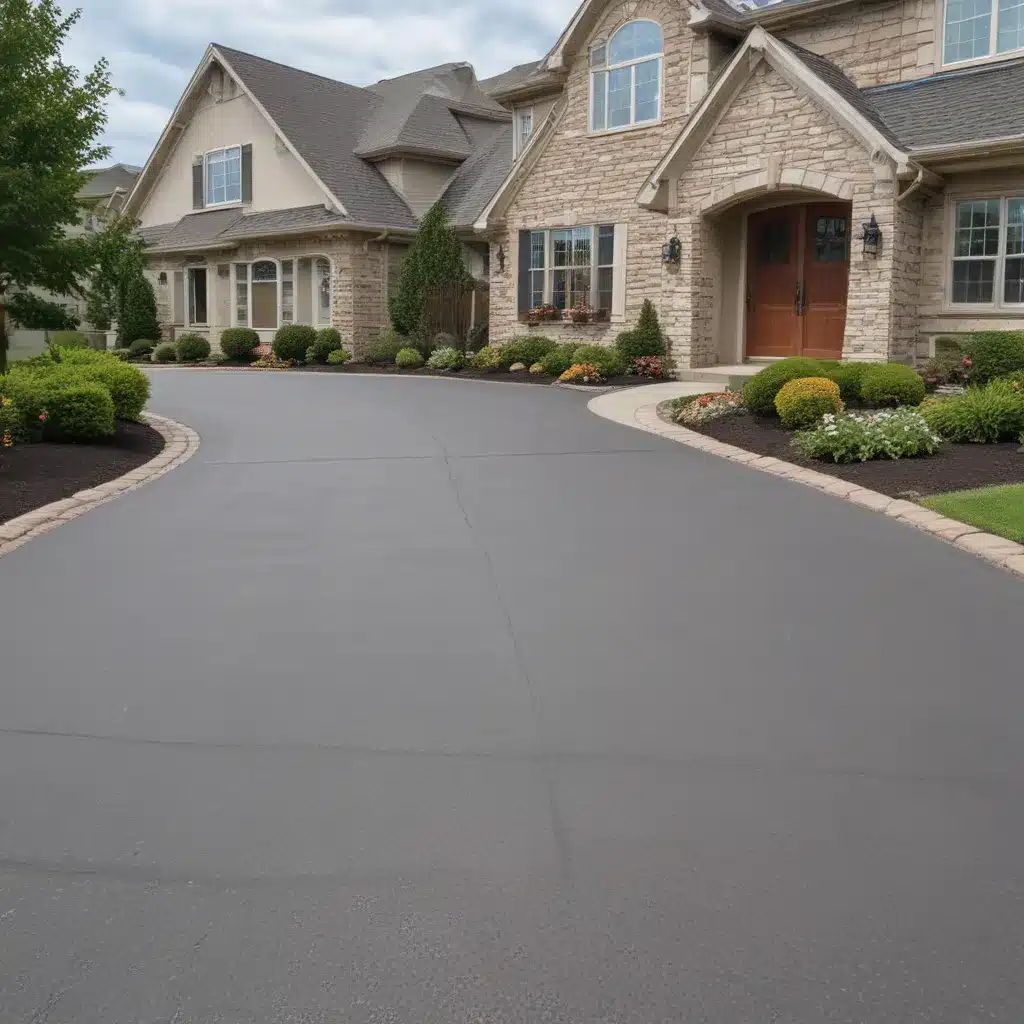
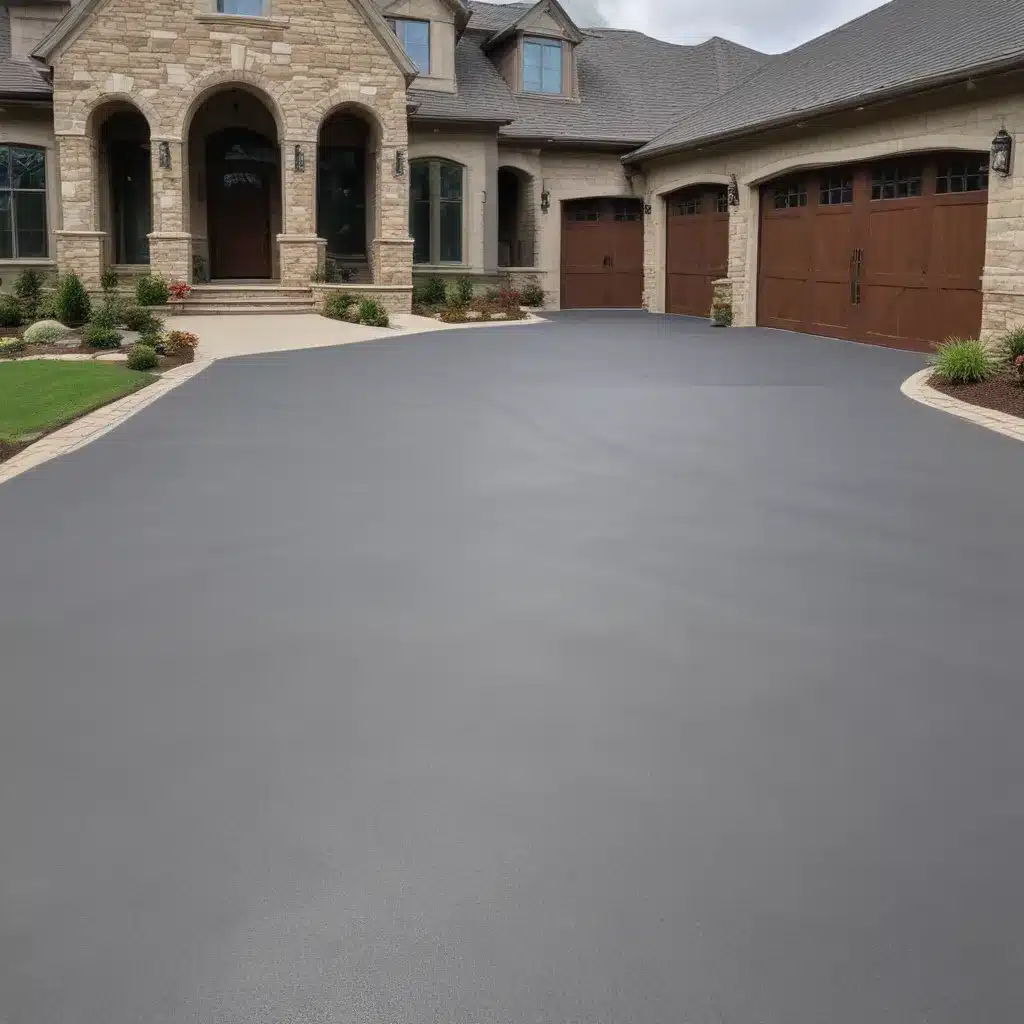
The process is relatively straightforward, and it can be done by either a professional contractor or a determined DIYer like myself. I decided to go the DIY route, and I have to say, the results were nothing short of impressive. My driveway went from a pockmarked, uneven surface to a sleek, seamless expanse that had my neighbors doing double-takes.
Embracing the Unexpected: Adding a Personal Touch
As I stood back and admired my newly renovated driveway, I couldn’t help but feel a sense of accomplishment. But you know what they say – the devil is in the details. That’s when I decided to take things a step further and add a personal touch to my driveway.
I started by incorporating some decorative elements, like pebbles or pavers, to create a unique pattern. It was a simple yet effective way to add a bit of flair to an otherwise utilitarian space. And let me tell you, the compliments from my neighbors came pouring in. Turns out, a little creativity can go a long way in transforming a driveway from a mundane necessity to a true focal point of your home’s exterior.
Maintenance: Keeping Your Driveway Looking Its Best
Of course, with any home improvement project, the work doesn’t stop once the initial renovations are complete. Maintaining your driveway is crucial to keeping it looking its best and extending its lifespan. That’s why I’ve made it a point to regularly inspect my driveway for any signs of wear and tear.
I’ve developed a routine of checking for cracks, filling them promptly, and keeping the surface clean and free of debris. And you know what? It’s made all the difference. My driveway looks better than ever, and I’ve even managed to save a few quid in the long run by staying on top of the maintenance.
Conclusion: Embrace the Challenge, Conquer the Driveway
So, there you have it, my fellow budget-conscious homeowners – the secrets to renovating your driveway on a shoestring. From crack repair to power washing and resurfacing, the possibilities are endless when it comes to giving your driveway a fresh lease on life.
And remember, the key to success isn’t just about the techniques you employ – it’s about embracing the challenge, tackling each obstacle with a can-do attitude, and taking pride in the end result. After all, a beautifully renovated driveway isn’t just a practical necessity – it’s a reflection of your hard work, creativity, and commitment to making your home look its absolute best.
So, what are you waiting for? Grab your tools, unleash your inner DIY spirit, and let’s get to work on transforming that driveway of yours into a masterpiece. Trust me, the sense of accomplishment you’ll feel will be worth every drop of sweat (and maybe a few tears, let’s be honest). Happy renovating, my friends!
