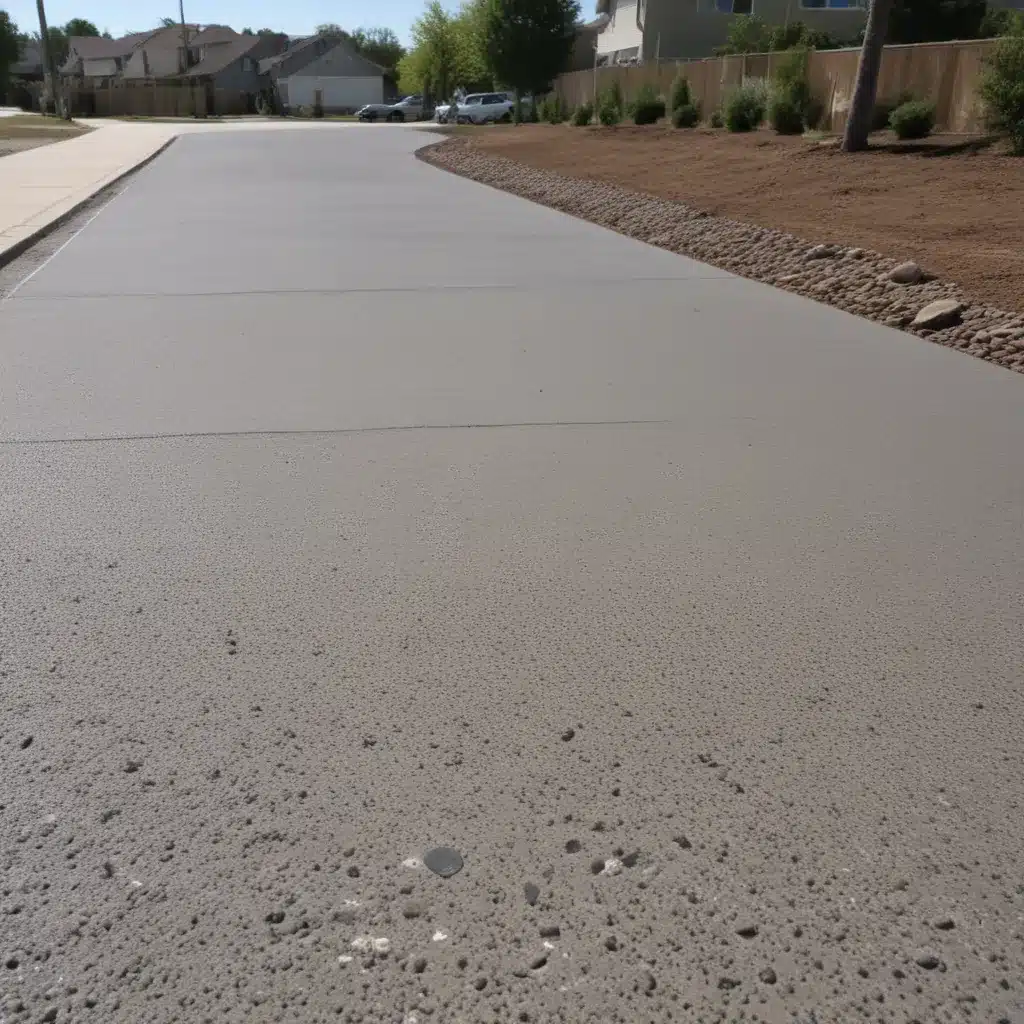
Cracking the Code: A Step-by-Step Guide to Successful DIY Driveway Sealing
As someone who’s lived in Warrington for years, I’ve seen my fair share of driveways go from pristine to, well, a bit worse for wear. And let me tell you, the cost of professional driveway sealing can really add up! That’s why I’m here to share my foolproof method for saving money and keeping your driveway looking its best – with a little DIY elbow grease.
You see, the key to a long-lasting, damage-free driveway is regular sealing. It’s like giving your driveway a little spa treatment – it protects the surface from the elements, prevents cracks and potholes, and keeps that fresh, new look for years to come. But before you start throwing money at the problem, hear me out.
The DIY Driveway Sealing Advantage
I know what you’re thinking – “but I’m no professional! What if I mess it all up?” Well, let me tell you, DIY driveway sealing is actually much simpler than you might think. In fact, with a little guidance, you can achieve the same results as the pros, and save a pretty penny in the process.
For starters, the tools and materials you need are relatively inexpensive. A high-quality driveway sealant, a sturdy push broom, and a bit of elbow grease are really all it takes. And the best part? You can spread the work out over a weekend, taking your time to ensure you get it right.
Preparation is the Name of the Game
Now, before you grab that sealant and start slathering it on, there’s an important step you can’t skip: preparation. Trust me, this is where the pros really earn their keep, but with a little know-how, you can nail it too.
First and foremost, you’ll want to give your driveway a thorough cleaning. This means sweeping away any dirt, debris, or weeds that have taken up residence. You can even use a pressure washer to really get things sparkling clean.
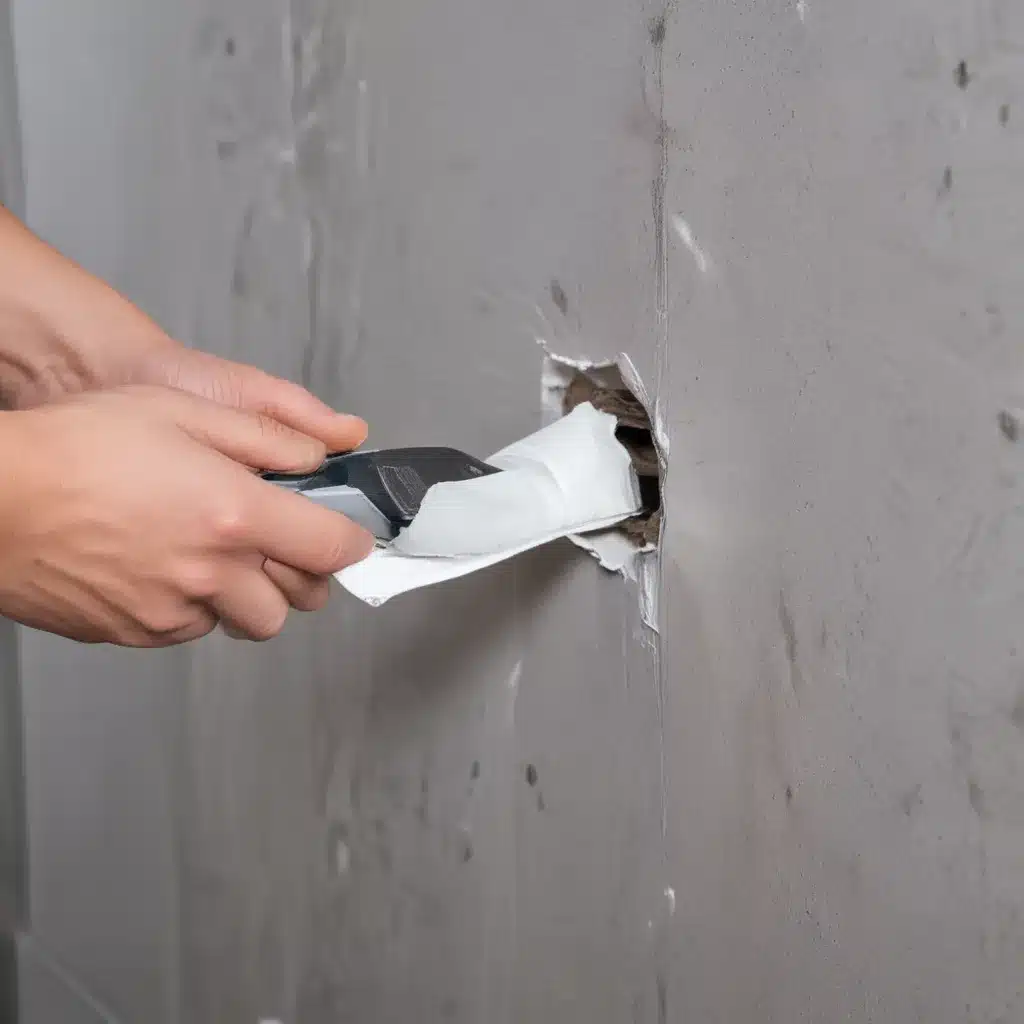
Next, take a good hard look at your driveway and identify any cracks or holes that need to be filled. This is crucial, because sealing over these problem areas will only lead to bigger issues down the line. Grab some concrete filler or asphalt patch and get to work – it’s like a little driveway makeover, and it’ll pay off in spades.
The Sealing Process: A DIY Masterclass
Alright, now that your driveway is prepped and primed, it’s time for the main event – the sealing process. This is where the rubber (or should I say, the sealant) hits the road.
Start by pouring a generous amount of your chosen sealant onto the driveway surface, and use your trusty push broom to spread it out evenly. Work in sections, making sure to cover every nook and cranny. And don’t be afraid to get a little creative – you can even use a paint roller for those tricky edges!
Now, the key to a flawless finish is in the drying time. Most sealants require at least 24 hours to fully cure, so be patient and resist the urge to take a shortcut. Trust me, the wait will be worth it when you see the stunning results.
The Proof is in the Puddle (or Lack Thereof)
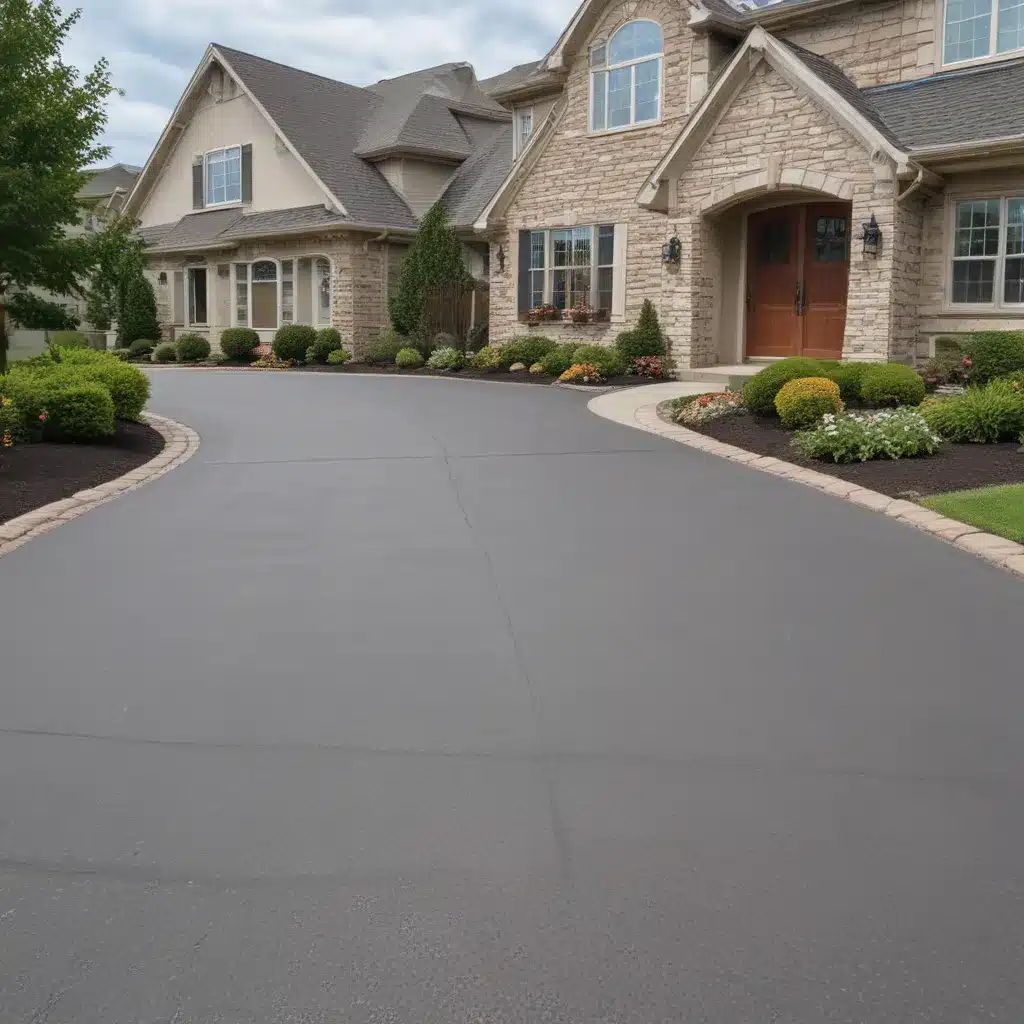
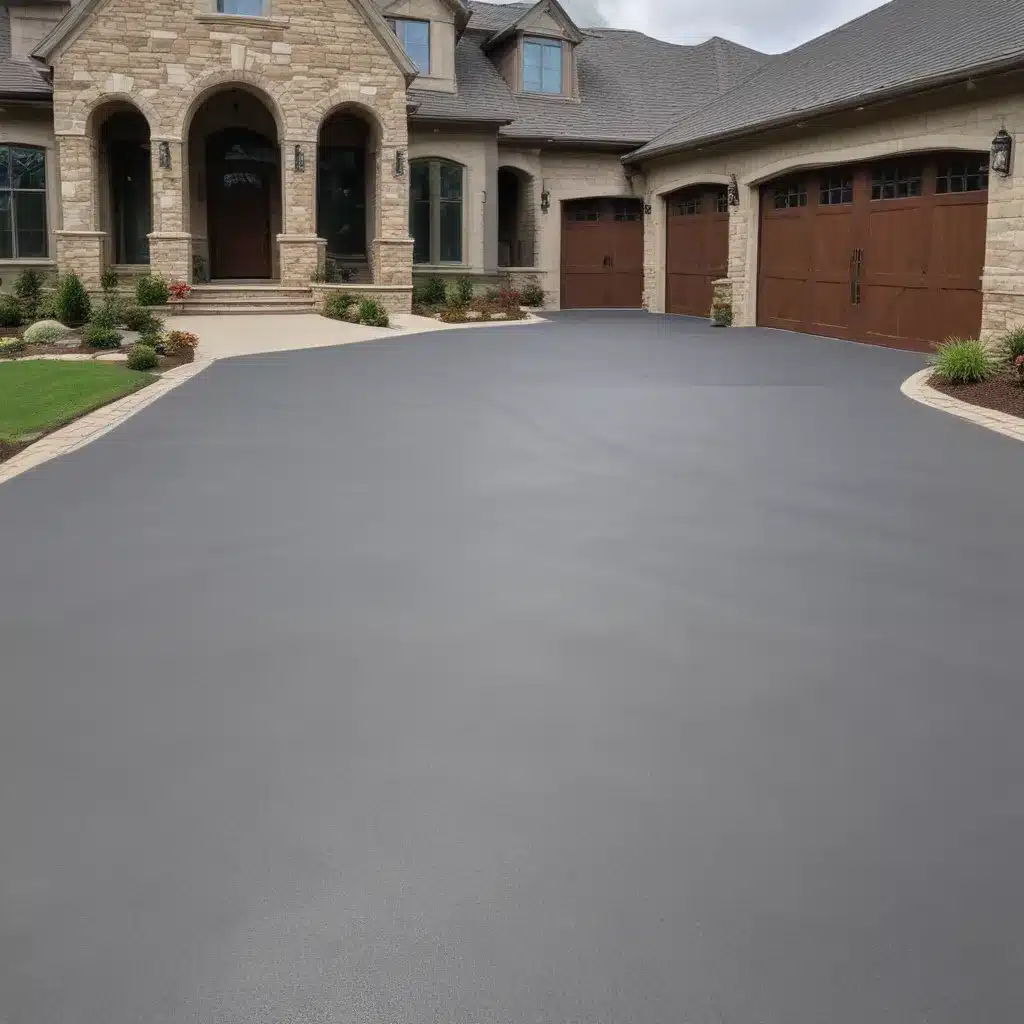
Once your driveway has had a chance to dry, it’s time to put your handiwork to the test. Grab a bucket of water and give your driveway a good soak – if you’ve done your job right, the water should bead up and roll right off, leaving that freshly sealed surface sparkling.
And the best part? You can rest easy knowing that your investment in DIY driveway sealing will pay off for years to come. No more worrying about unsightly cracks, potholes, or that dreaded algae buildup. Your driveway will be the envy of the neighbourhood, and you’ll have the satisfaction of knowing you did it all yourself.
So, what are you waiting for? Grab your sealant, your broom, and your can-do attitude, and get ready to transform your driveway from drab to fab. Trust me, the savings and the sense of accomplishment will be more than worth it.
Oh, and one more thing – if you ever need a professional touch or want to explore our full range of driveway services, the team at NW Driveways in Warrington is always here to help. But for now, let’s get that DIY driveway sealing project underway!
