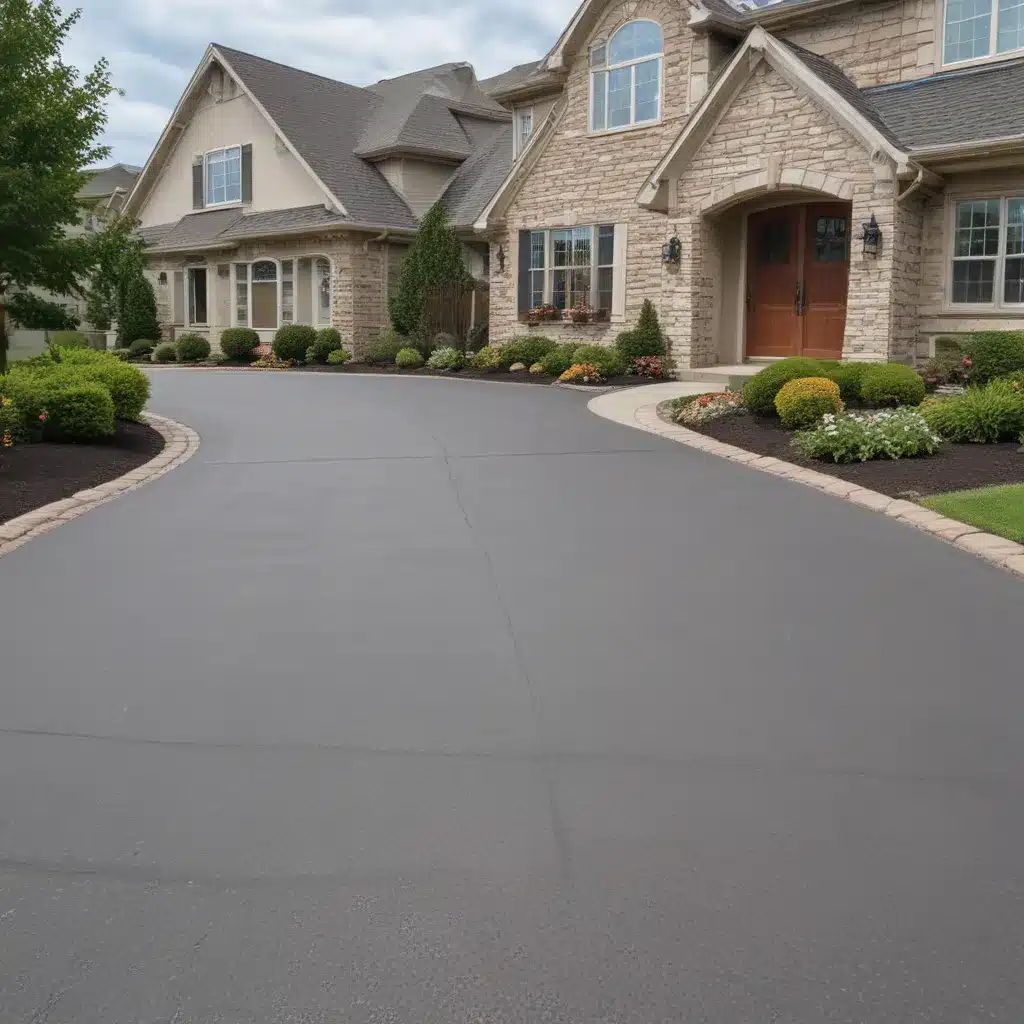
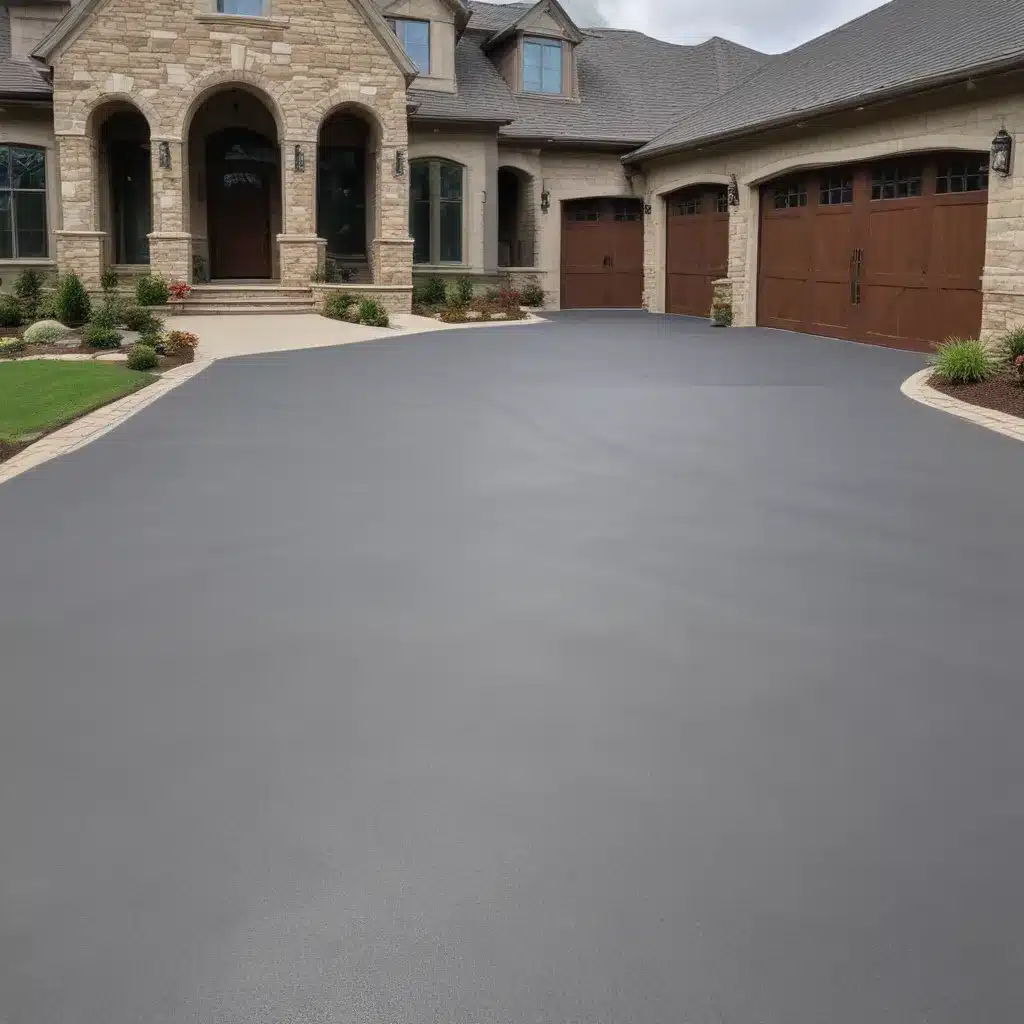
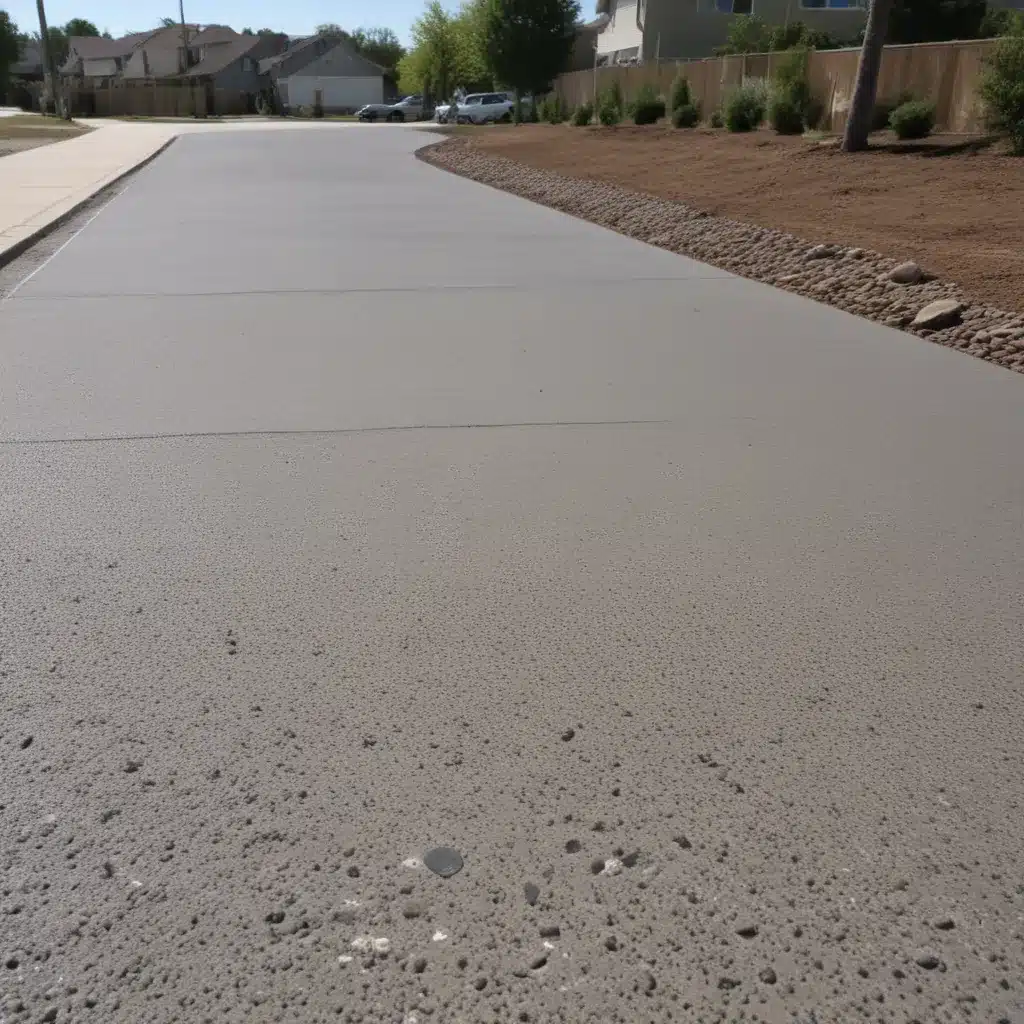
Welcome to our ultimate guide on creating and maintaining smooth asphalt driveways. Are you tired of bumpy rides and unsightly potholes? Look no further! In this comprehensive guide, we will walk you through everything you need to know about asphalt driveways, from installation to maintenance. Our goal is to provide you with valuable insights and practical tips to help you achieve a smooth and long-lasting driveway that will make your neighbors envious.
Why Choose Asphalt?
Before we dive into the nitty-gritty details, let’s first understand why asphalt is a popular choice for driveways. Asphalt offers numerous benefits that make it a preferred option for homeowners:
- Durability: Asphalt driveways are highly durable and can withstand heavy traffic and harsh weather conditions. They have the ability to flex and adapt to changes in temperature, reducing the risk of cracks and potholes.
- Cost-Effective: Compared to other driveway materials, asphalt is relatively cost-effective. It requires less initial investment and is easier to maintain, saving you money in the long run.
- Quick Installation: Asphalt driveways can be installed relatively quickly, minimizing disruption to your daily routine. With proper preparation and professional installation, you can have a smooth driveway in no time.
- Versatility: Asphalt is a versatile material that can be tailored to your specific needs. Whether you prefer a traditional blacktop appearance or a decorative asphalt surface, the options are endless.
Now that we understand the advantages of asphalt, let’s explore the step-by-step process of installing a smooth driveway.
Step 1: Proper Planning and Preparation
The key to a successful asphalt driveway lies in proper planning and preparation. Before diving into the installation process, here are a few essential steps:
- Evaluate the Site: Assess the area where you plan to install the driveway. Consider factors such as slope, drainage, and existing landscaping. Address any potential issues before starting the project.
- Obtain Permits: Check with your local authorities to determine if you need any permits or approvals for the driveway installation. Complying with regulations will save you from future headaches.
- Excavation and Grading: Clear the area of any vegetation, rocks, or debris. Excavate the soil to the required depth and ensure proper grading for optimal water drainage.
Step 2: Base Preparation
A solid base is crucial for a smooth and long-lasting asphalt driveway. Follow these steps to create a strong foundation:
- Sub-Base Installation: Lay a sturdy sub-base layer, typically made of crushed stone or aggregate. This layer provides stability and prevents the asphalt from sinking or shifting.
- Compaction: Compact the sub-base layer thoroughly using a plate compactor. This will ensure proper density and stability, minimizing the risk of future settlement.
Step 3: Asphalt Installation
Now that the groundwork is complete, it’s time to lay the asphalt. Here’s what you need to do:
- Application: Apply a layer of hot mix asphalt over the compacted sub-base. The thickness of the asphalt layer will depend on your specific requirements and local climate conditions.
- Smoothing and Compaction: Use a heavy roller or a paving machine to smooth and compact the asphalt. This process eliminates air pockets and creates a uniform surface.
Step 4: Curing and Sealcoating
After installing the asphalt, it’s essential to allow it to cure properly and protect it from the elements. Follow these post-installation steps:
- Curing Period: Allow the asphalt to cure for a minimum of 24 to 48 hours before using the driveway. Avoid parking heavy vehicles or placing any heavy objects during this period.
- Sealcoating: Applying a sealcoat to your asphalt driveway is crucial for its long-term protection. Sealcoating acts as a barrier against UV rays, water, and chemicals, preventing premature deterioration.
Step 5: Regular Maintenance
To ensure the longevity and smoothness of your asphalt driveway, regular maintenance is essential. Here are some maintenance tips:
- Keep it Clean: Regularly sweep your driveway to remove debris and prevent it from accumulating. This will prevent the formation of cracks and potholes.
- Address Cracks Promptly: Inspect your driveway regularly for any cracks or damage. Fill them with a quality crack filler to prevent them from expanding.
- Resealing: Every few years, consider resealing your asphalt driveway to maintain its appearance and protect it from the elements.
- Avoid Heavy Loads: Minimize the weight of parked vehicles or heavy equipment on your driveway. Excessive weight can lead to depressions and damage the asphalt surface.
Conclusion
Congratulations on completing our ultimate guide to smooth asphalt driveways! By following the steps outlined in this comprehensive guide, you are well on your way to achieving a beautiful, durable, and pothole-free driveway. Remember, proper planning, preparation, installation, and maintenance are the keys to success. Say goodbye to potholes and hello to a smooth asphalt driveway that will enhance the curb appeal of your home for years to come. So grab your tools and get started on transforming your driveway today!


