The Humble Beginnings of My Driveway Obsession
I’ll admit it – I’m a bit of a driveway nerd. Ever since I watched my dad painstakingly reseal our family’s asphalt driveway as a kid, I’ve been fascinated by the art of keeping these humble slabs of pavement in tip-top shape. There’s just something oddly satisfying about seeing that fresh, glossy finish after a good sealcoating, you know?
But my driveway fixation didn’t start there. Oh no, it all began when I was just a wee lad, mesmerized by the process of our new driveway being laid down. The rumble of the heavy machinery, the sizzle of the hot asphalt being spread and smoothed…it was like a driveway installation symphony. I’d park myself on the porch for hours, eyes glued to the action, dreaming of the day I’d have my very own driveway to maintain.
Fast forward a couple of decades, and here I am – the proud owner of an asphalt driveway that I pamper and fuss over like a new puppy. And you know what? I wouldn’t have it any other way. There’s just something immensely satisfying about keeping that dark, sleek surface in pristine condition. So if you’re a fellow driveway enthusiast (or if you’re just looking to level up your home’s curb appeal), buckle up – I’m about to take you on a deep dive into the world of asphalt driveway maintenance.
Understanding the Anatomy of an Asphalt Driveway
Before we can tackle the nitty-gritty of keeping your driveway in top shape, it’s important to understand the basic construction and components of an asphalt surface.
You see, that smooth, black expanse isn’t just a simple slab of pavement – it’s a carefully engineered system designed to withstand the elements and heavy use. At the foundation, you’ve got a sturdy base layer, typically made of compacted gravel or crushed stone. This provides a stable, solid foundation for the asphalt to sit on.
Next up is the asphalt itself – a mixture of aggregates (like crushed rock and sand) bound together with a sticky bituminous binder. This is the “skin” of your driveway, if you will. The specific composition can vary, but the goal is to create a durable, water-resistant surface that can handle the wear and tear of vehicles, weather, and time.
Topping it all off is a protective layer known as the sealcoat. This is essentially a thin, glossy coating that helps shield the asphalt from the sun’s damaging UV rays, as well as the ravages of water, ice, and other environmental factors. It’s like sunscreen for your driveway – an essential step in maintaining that fresh, jet-black finish.
So in a nutshell, a healthy asphalt driveway is made up of three key components: a sturdy base, a well-formulated asphalt mix, and a protective sealcoat. Understanding this basic anatomy will be crucial as we dive into the nitty-gritty of driveway maintenance.
Maintaining the Base: Preventing Cracks and Depressions
Now that we’ve got the basics down, let’s talk about the first line of defense in keeping your driveway in tip-top shape: maintaining the base.
You see, that compacted gravel or crushed stone foundation is the unsung hero of your driveway’s longevity. If the base starts to fail, it’s like a house of cards – the entire structure can come crumbling down. And trust me, trying to fix a cracked, sunken driveway is a whole lot harder (and more expensive) than staying on top of preventative maintenance.
One of the biggest threats to the driveway base is water. When rainwater or melting snow seeps into the underlying soil, it can cause the ground to shift and settle unevenly. This, in turn, leads to cracks, dips, and potholes in the asphalt surface. That’s why it’s so important to ensure proper drainage around your driveway, with well-placed grading and sufficient slope to carry water away from the pavement.
Regular inspections can also help you catch any potential base issues before they become a major problem. Keep an eye out for signs of settling, like visible cracks or depressions in the asphalt. If you notice any trouble spots, it’s best to address them quickly by having the area excavated, the base re-compacted, and the asphalt patched or resurfaced.
And let’s not forget the importance of maintaining that gravel or crushed stone base. Over time, the material can become compacted and degraded, losing its ability to provide a stable foundation. Periodically topping up the base with fresh aggregate can help reinforce the structure and prevent future issues.
Trust me, taking the time to properly maintain your driveway’s base may not be the most glamorous task, but it’s absolutely essential for keeping that asphalt in tip-top shape. After all, a strong foundation is the key to a long-lasting, well-performing driveway.
Sealing the Deal: The Art of Sealcoating
Alright, now that we’ve got the base covered, let’s move on to the star of the show: the sealcoat. As I mentioned earlier, this protective layer is like sunscreen for your driveway, shielding the asphalt from the elements and helping to preserve that glossy, jet-black finish.
But sealcoating isn’t just about aesthetics – it’s a crucial step in preserving the structural integrity of your driveway. The sealcoat helps to prevent water intrusion, which can lead to those pesky cracks and potholes we talked about earlier. It also creates a barrier against the sun’s damaging UV rays, which can cause the asphalt to dry out and become brittle over time.
Now, I know what you’re thinking: “But wait, doesn’t the sealcoat eventually wear off? Isn’t it just a temporary fix?” And you’d be absolutely right. Sealcoats do have a limited lifespan, typically lasting anywhere from 2 to 5 years depending on the climate, usage, and other factors. But that’s precisely why it’s so important to stay on top of the resealing process.
Think of it like getting your car’s oil changed – you don’t just do it once and call it a day. It’s an ongoing maintenance task that helps keep your vehicle running smoothly. The same goes for your driveway’s sealcoat. By reapplying the protective layer every few years, you can ensure that your asphalt stays in prime condition, warding off the ravages of time and the elements.
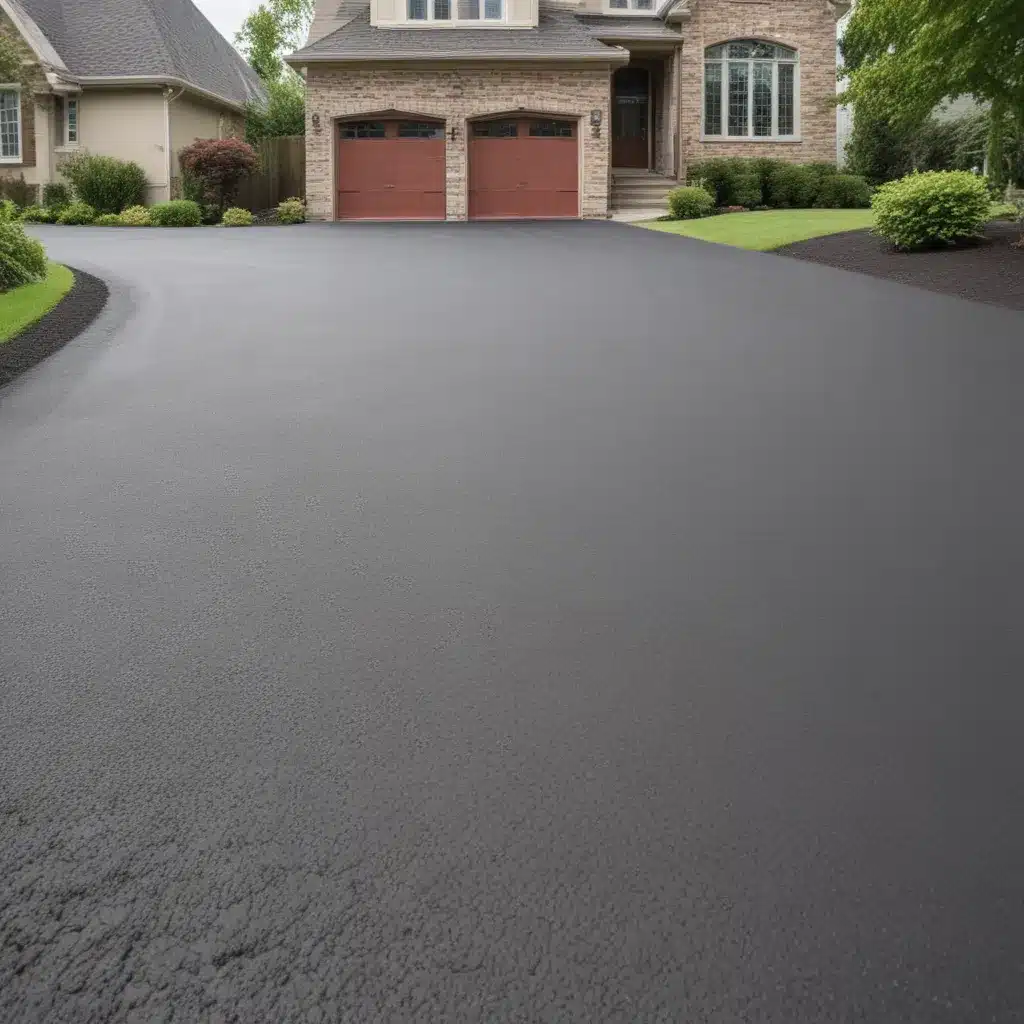
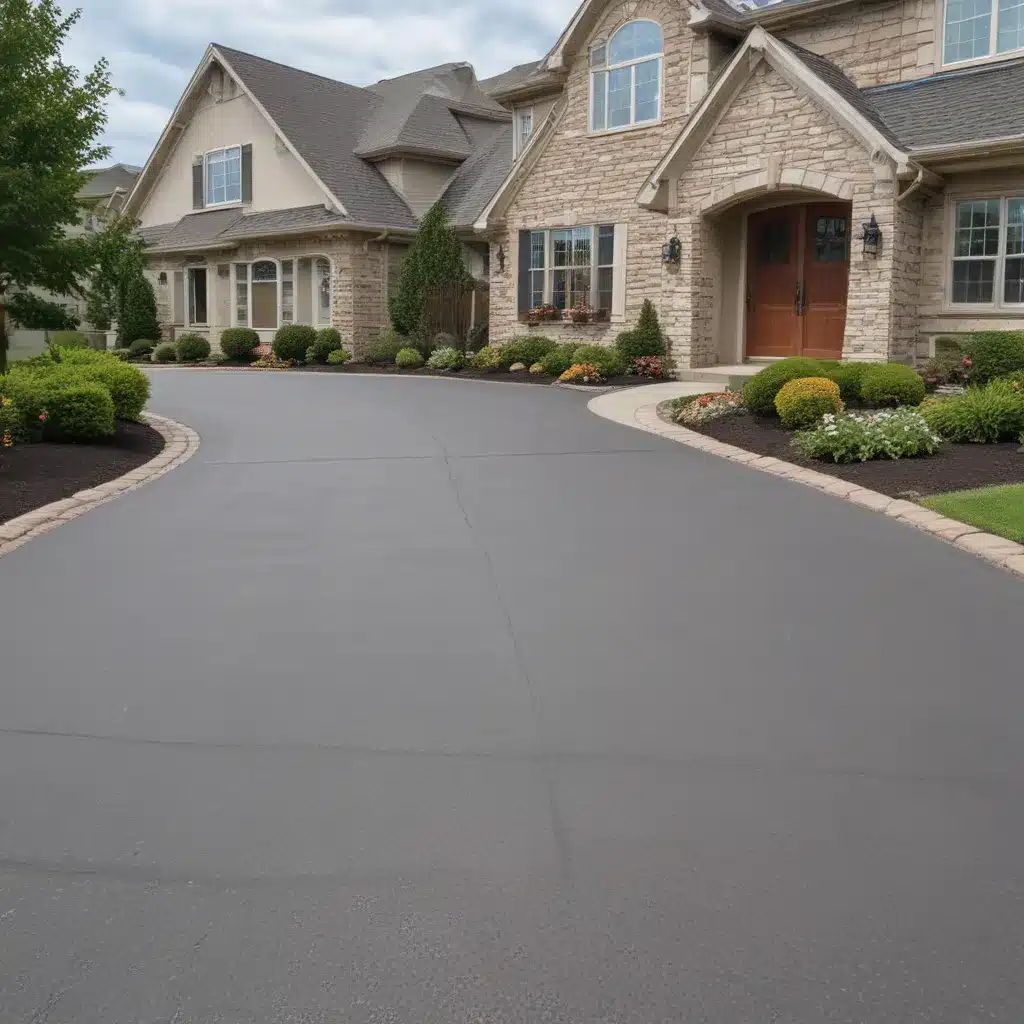
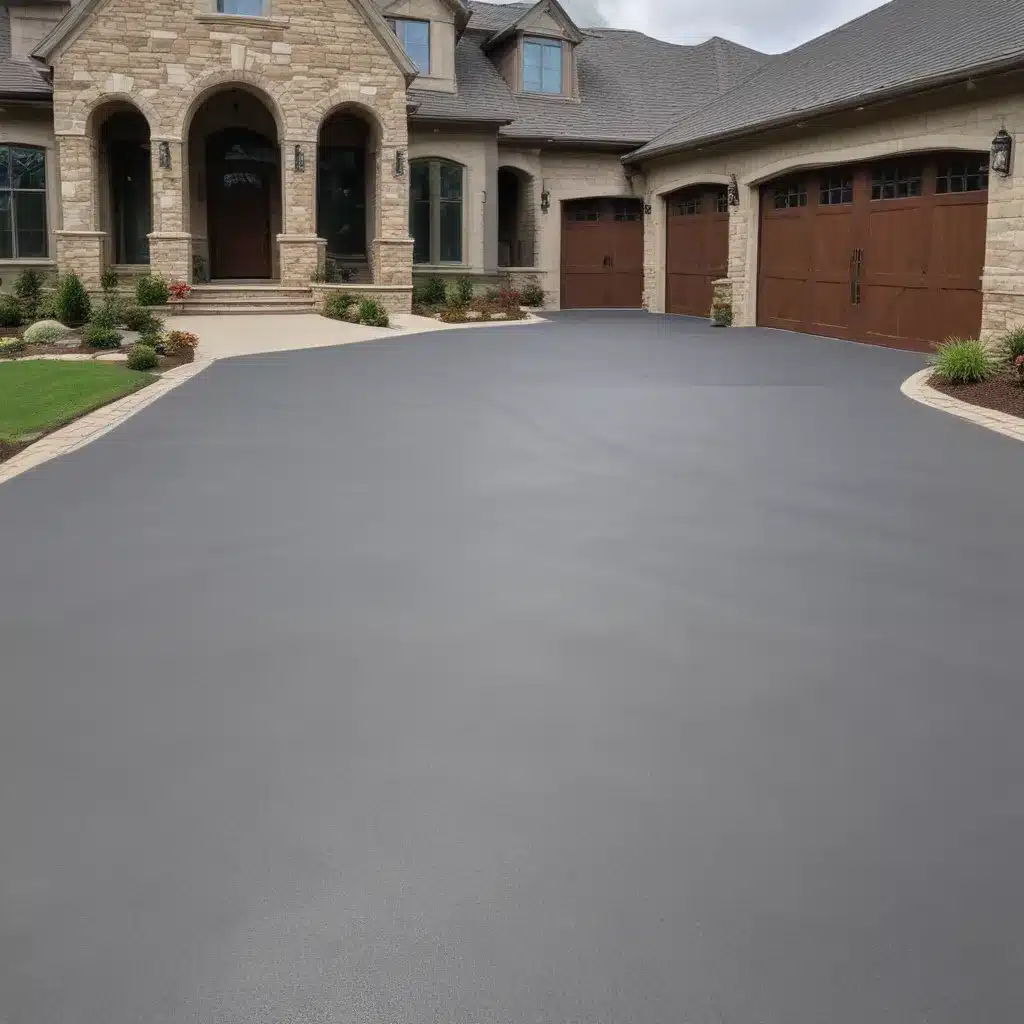
And let me tell you, there’s nothing quite like the satisfaction of seeing that freshly sealed driveway glistening in the sun. It’s like a true transformation, taking a weathered, faded surface and restoring it to its former glory. Plus, a well-maintained driveway can do wonders for your home’s curb appeal – it’s like that final touch that really makes your property shine.
So if you want to keep your asphalt driveway looking its best for years to come, make sealcoating a regular part of your maintenance routine. Trust me, your future self (and your home’s value) will thank you.
Tackling Cracks and Potholes: A Battle Plan
Alright, let’s talk about the not-so-fun part of driveway maintenance: dealing with those pesky cracks and potholes. Because as much as we’d love to keep our driveways in pristine condition forever, the reality is that even the best-laid pavement will eventually show signs of wear and tear.
But fear not, my fellow driveway enthusiasts – with the right approach, you can nip those problems in the bud before they turn into a full-blown disaster. The key is to act quickly and address any issues as soon as they arise.
Let’s start with cracks. These can range from tiny hairline fractures to larger, more concerning splits in the asphalt. Either way, they’re an open invitation for water to seep in and wreak havoc on your driveway’s foundation. That’s why it’s so important to fill and seal those cracks as soon as you spot them.
The process is actually pretty straightforward – you’ll want to clean out the crack, apply a special crack filler or sealant, and then smooth it over to create a seamless surface. This helps prevent further cracking and water intrusion, which can eventually lead to potholes and other structural issues.
And speaking of potholes, those are a whole other beast to tackle. These pesky depressions in the asphalt are not only unsightly, but they can also pose a serious safety hazard for both pedestrians and vehicles. Plus, if left unchecked, they can just keep getting bigger and more problematic.
The good news is that repairing potholes doesn’t have to be a daunting task. It typically involves digging out the damaged area, applying a base material like crushed stone, and then filling it in with a fresh asphalt patch. It’s important to make sure the repair is properly compacted and leveled to match the surrounding surface.
Now, I know what you’re thinking – “But what if I have a lot of cracks and potholes? Do I really have to fix them all individually?” And the short answer is: well, yes. Trying to take shortcuts or ignore these issues is a surefire way to end up with a driveway that’s beyond repair.
But I promise, the effort is worth it. By staying on top of crack-filling and pothole-patching, you can extend the life of your asphalt driveway and keep it looking its best for years to come. Plus, taking care of these problems early on is a whole lot easier (and more cost-effective) than having to completely resurface the entire driveway down the line.
Preventing Weeds and Moss: A Green Thumb for Asphalt
Alright, let’s shift gears and talk about a slightly different kind of threat to your driveway’s well-being: the dreaded invasion of weeds and moss.
Now, I know what you’re thinking – “Weeds and moss? On my driveway? How in the world do those even grow there?” And believe me, I had the same reaction when I first started noticing those pesky green invaders popping up between the cracks.
But the truth is, asphalt driveways can actually provide a surprisingly fertile breeding ground for all sorts of unwanted vegetation. The cracks and crevices in the pavement offer the perfect foothold for weed seeds and moss spores to take root and thrive. And once they get a foothold, those persistent little buggers can really start to wreak havoc on your carefully-maintained driveway.
So what’s a driveway enthusiast to do? Well, the key is to stay vigilant and tackle any weed or moss growth as soon as you spot it. Regular sweeping and power washing can help remove any loose debris or organic matter that could potentially feed the growth. And for those more stubborn infestations, you may need to break out the heavy-duty weed killer or moss-removing products.
But the real secret to keeping your driveway weed and moss-free? Consistent sealcoating. You see, that protective layer we talked about earlier doesn’t just shield the asphalt from the elements – it also creates a barrier that makes it much harder for those pesky plants to get a foothold.
So by staying on top of your sealcoating schedule, you’re not only preserving the structural integrity of your driveway, but you’re also making it a much less hospitable environment for those unwanted guests. It’s a win-win, if you ask me.
Of course, the occasional weed or moss spot is bound to pop up no matter how diligent you are. But by addressing those issues quickly and keeping up with your regular maintenance, you can ensure that your driveway stays looking its best for years to come. After all, a beautifully-maintained asphalt surface is the perfect canvas for showcasing your carefully-tended landscaping, don’t you think?
Dealing with Oil Stains: The Driveway Detox
Alright, let’s talk about the elephant in the room – those unsightly oil stains that can plague even the most well-maintained asphalt driveway. We’ve all seen them, those dark, greasy splotches that seem to defy all attempts at removal. And let me tell you, as a self-proclaimed driveway enthusiast, they drive me absolutely bonkers.
But fear not, my fellow pavement-lovers – there are ways to tackle those pesky oil stains and restore your driveway to its former glory. It’s all about knowing the right techniques and having the right tools for the job.
First things first, it’s important to act quickly. The longer those oil stains sit and soak into the asphalt, the harder they’ll be to remove. As soon as you notice a spill, try to blot it up with some absorbent material like cat litter or sawdust. This can help prevent the stain from setting in and spreading.
Next up, you’ll want to break out the big guns – specialized driveway cleaners and degreasers. These products are formulated to penetrate the asphalt and lift out those stubborn oil and grease stains. Just be sure to follow the instructions carefully and test in an inconspicuous area first, as some cleaners can be a bit harsh on the pavement.
And if the commercial cleaners don’t do the trick? Well, it’s time to get a little more creative. Some driveway maintenance experts swear by good old-fashioned baking soda and vinegar as a natural (and budget-friendly) stain-busting solution. The basic premise is to create a fizzing reaction that helps break down the oil and lift it out of the asphalt.
Of course, no matter which method you choose, it’s important to be patient and persistent. Those oil stains can be real stubborn suckers, and it may take a bit of elbow grease (and some trial and error) to get them fully removed. But trust me, the effort is worth it – there’s nothing quite like seeing that driveway gleaming, free of any unsightly blemishes.
And the best part? Once you’ve tackled those pesky oil stains, you can rest easy knowing that your driveway is well on its way to being in tip-top shape. It’s like a driveway detox, cleansing away the grime and restoring that sleek, flawless finish. Now that’s what I call a job well done.
Winterizing Your Driveway: Preparing for the Chill
Alright, let’s talk about one of the biggest threats to your beloved asphalt driveway: the dreaded winter weather. As if the normal wear and tear of everyday use wasn’t enough, our driveways also have to contend with the freezing temperatures, snow, and ice that come with the colder months.
But fear not, my fellow driveway enthusiasts – with the right winterization strategy, you can help your pavement withstand the onslaught of Old Man Winter and emerge unscathed come springtime. It all starts with a little pre-season preparation.
First and foremost, it’s crucial to make sure your driveway’s sealcoat is in tip-top shape before the mercury starts to drop. That protective layer acts as a barrier, shielding the asphalt from the damaging effects of water, ice, and the sun’s UV rays. By resealing your driveway in the fall, you’ll be giving it a fighting chance against the harsh winter conditions.
But it’s not just about the sealcoat – you’ll also want to address any cracks or potholes that have popped up over the course of the year. Remember, those seemingly small imperfections can turn into gaping maws when the freeze-thaw cycle sets in, as the water seeps in and expands. A little crack-filling and pothole-patching before the first snowfall can go a long way in preventing major damage.
And speaking of snow and ice, it’s important to have a game plan for clearing your driveway quickly and effectively. That means investing in the right tools, like a sturdy snow shovel, a reliable snow blower, and perhaps even a trusty bag of de-icing salt or sand. The quicker you can clear away the white stuff and prevent the formation of ice, the better off your driveway will be.
Now, I know what you’re thinking – “But won’t all that shoveling and plowing do a number on my driveway?” And you’re absolutely right. The constant scraping and abrasion from snow removal equipment can definitely take a toll on the asphalt surface. That’s why it’s so important to be extra gentle and use the right techniques, like angling your shovel just right to avoid digging into the pavement.
But you know what they say – an ounce of prevention is worth a pound of cure. By taking the time to properly winterize your driveway, you’ll be saving yourself a whole lot of headache (and expense) in the long run. Because trust me, trying to repair a thoroughly ravaged asphalt surface is not a fun way to start the spring season.
So, my fellow driveway enthusiasts, let’s raise a shovel to the wintertime ahead. With a little preparation and vigilance, we can keep our beloved pavement in pristine condition, no matter what Mother Nature throws our way.
The Final Touches: Enhancing Curb Appeal
Alright, we’ve covered all the nitty-gritty details of keeping your asphalt driveway in top-notch shape – from maintaining the base to tackling

