Uncovering the Oil Spill Mystery
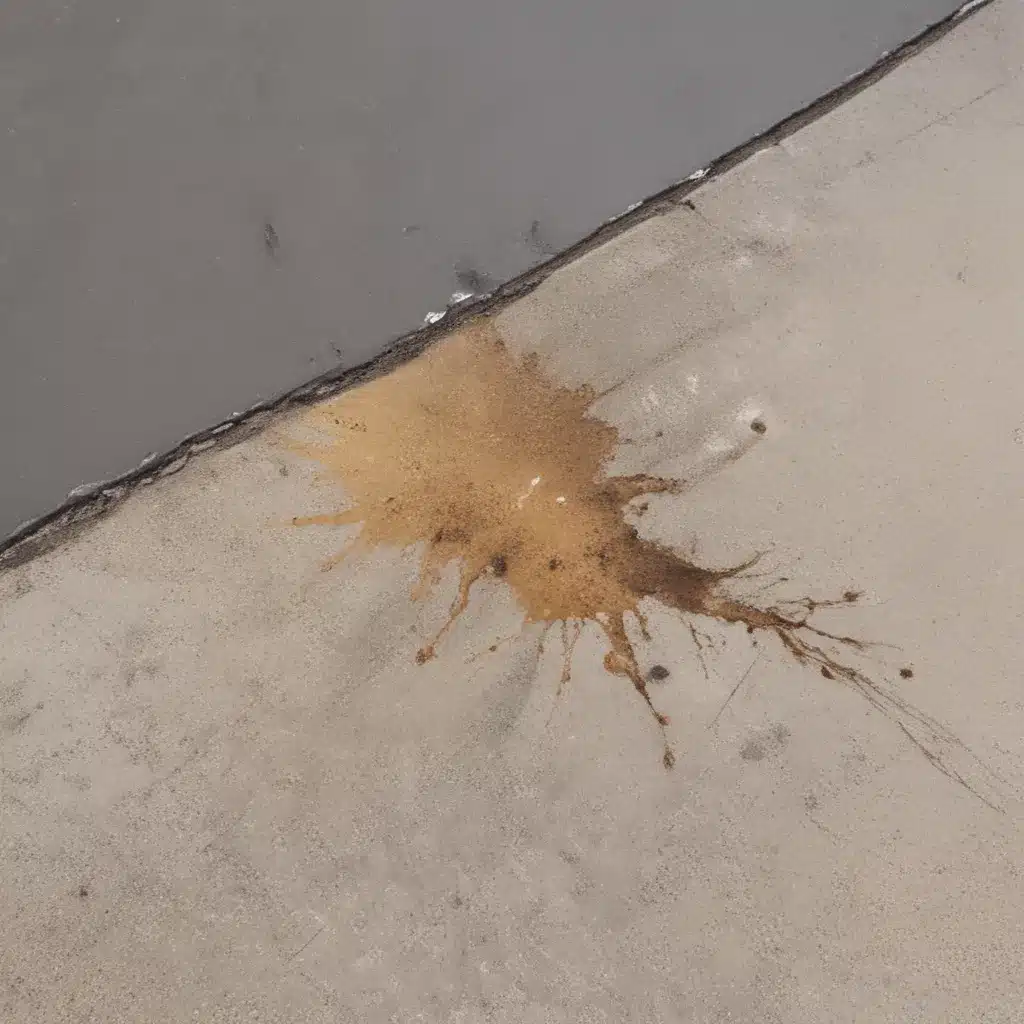
Have you ever pulled into your driveway, only to be greeted by a nasty oil stain staring back at you? It’s like an unwelcome visitor that just won’t leave, no matter how much you try to ignore it. Well, fear not, my friend! Today, I’m going to share with you the secrets to fixing that pesky oil stain the right way.
Now, I know what you’re thinking – “Ugh, not another driveway cleaning article.” But trust me, this is going to be different. I’m not just going to give you a generic step-by-step guide; I’m going to take you on a journey, uncovering the mystery behind that stubborn oil spill and showing you how to address it with precision and finesse.
So, grab a cup of coffee (or a cold one, if that’s more your style), and let’s dive in. Together, we’ll unravel the secrets to restoring your driveway to its former glory.
Understanding the Anatomy of an Oil Stain
Alright, let’s start with the basics. What exactly is an oil stain, and why does it seem so darn difficult to get rid of? Well, my friends, it all comes down to the molecular structure of oil.
Oil is a complex blend of hydrocarbons – a fancy way of saying it’s made up of hydrogen and carbon atoms. When these molecules come into contact with a porous surface like concrete or asphalt, they can seep deep into the pores, forming a stubborn stain that’s not easily removed.
Imagine if you spilled a glass of red wine on a white carpet – the stain would be pretty darn difficult to get out, right? Well, it’s the same principle with an oil stain on your driveway. The oil has penetrated the surface, and trying to scrub it away with a few splashes of water and a rag just isn’t going to cut it.
Identifying the Culprit: What Kind of Oil Stain Do You Have?
Now, before we get to the nitty-gritty of how to fix an oil stain, we need to figure out what kind of oil we’re dealing with. You see, not all oil stains are created equal. There are a few different varieties, and each one requires a slightly different approach.
Let’s take a quick look at the most common types of oil stains:
| Type of Oil Stain | Characteristics |
|---|---|
| Motor Oil | Dark, thick, and stubborn. Typically comes from leaks in your car’s engine. |
| Cooking Oil | Lighter in color, but can still be a pain to remove. Often from spills while cooking or grilling. |
| Hydraulic Fluid | Slick, shiny, and difficult to clean up. Comes from leaks in your car’s hydraulic system. |
Identifying the type of oil is crucial because it will determine the best cleaning method. Trust me, you don’t want to use the wrong approach and end up making the stain even worse.
Preparing Your Driveway for the Big Clean-Up
Alright, now that we’ve got the background out of the way, let’s get to the fun part – actually fixing that oil stain. But before we dive in, there are a few important steps we need to take to set ourselves up for success.
First and forerement, you’ll want to make sure your driveway is clean and dry. That means sweeping away any loose debris, dirt, or leaves. Trust me, you don’t want to be trying to clean an oil stain with a bunch of other gunk in the way.
Next, you’ll want to protect any surrounding areas that you don’t want to get dirty. That could mean covering nearby plants, putting down tarps, or even taping off the edges of the driveway. This will help keep your cleanup contained and prevent any collateral damage.
And finally, make sure you have all the necessary supplies on hand. We’re talking things like a stiff-bristled brush, some absorbent materials (like kitty litter or baking soda), a de-greasing solution, and maybe even a power washer if you really want to go the extra mile.
With your driveway prepped and your supplies ready, you’re now officially ready to tackle that oil stain head-on. Let’s do this!
The Oil Stain Removal Arsenal: Your Weapons of Choice
Now, I know what you’re thinking – “Alright, enough with the preamble, let’s get to the good stuff!” Well, my friend, I’m about to unveil the secret weapons in your oil stain removal arsenal.
First up, we’ve got the tried-and-true absorbent materials. Things like kitty litter, baking soda, or even cornmeal can work wonders in soaking up that pesky oil. Simply sprinkle a generous amount over the stain, let it sit for a bit, and then sweep or vacuum it up. The absorbent properties of these materials will help pull the oil out of the pores of the driveway.
Next, we’ve got the degreasing solutions. These are specially formulated cleaners that are designed to break down and dissolve those stubborn oil molecules. You can find them at your local hardware store or even make your own with a mix of dish soap and water. Just be sure to test it in an inconspicuous area first to make sure it doesn’t damage your driveway.
And finally, we’ve got the heavy hitter – the power washer. Now, I know what you’re thinking – “A power washer? Isn’t that overkill?” Well, my friends, sometimes you need to pull out the big guns to really get the job done right. The high-pressure water can blast away even the most stubborn oil stains, leaving your driveway looking good as new.
Of course, you’ll want to use caution when operating a power washer, and make sure you’re not damaging the surface of your driveway. But used properly, it can be a game-changer in the fight against those pesky oil stains.
The Step-by-Step Oil Stain Removal Process
Alright, now that we’ve covered the basics, it’s time to put our newfound knowledge into action. Here’s a step-by-step guide to fixing that oil stain the right way:
-
Assess the Situation: Take a close look at the stain and identify what type of oil you’re dealing with. This will help you choose the right cleaning method.
-
Sprinkle and Absorb: Generously cover the stain with an absorbent material like kitty litter or baking soda. Let it sit for 15-20 minutes, allowing the oil to be drawn out of the pores.
-
Scrub and Degrease: Once the absorbent material has done its job, use a stiff-bristled brush to scrub the area. Apply a degreasing solution and let it sit for a few minutes before scrubbing again.
-
Power Wash (Optional): If the stain is still proving to be stubborn, break out the power washer. Carefully direct the high-pressure water at the stain, being mindful not to damage the driveway surface.
-
Repeat as Needed: Depending on the severity of the stain, you may need to repeat the process a few times to fully remove it. Don’t get discouraged – with a little elbow grease, you’ll have that driveway looking good as new.
Now, I know what you’re thinking – “That seems like a lot of work!” And you’re right, cleaning up an oil stain isn’t exactly a walk in the park. But trust me, it’s worth it to keep your driveway looking its best.
Plus, think of the sense of accomplishment you’ll feel when you step back and admire your handiwork. It’s like solving a mystery, and you’re the detective who cracked the case. Just wait until the neighbors see your freshly cleaned driveway – they’ll be begging you for your secrets.
Real-Life Oil Stain Removal Success Stories
Speaking of secrets, let me share a few real-life stories of oil stain removal triumph. After all, what better way to inspire you than with some good, old-fashioned, driveway-cleaning success stories?
Take the case of my neighbor, Sarah. She had a massive oil stain in her driveway, courtesy of a leaky car engine. She tried everything – scrubbing, soaking, even hiring a professional cleaning service. But nothing seemed to work. That is, until she stumbled upon our little chat here and gave the power-washing method a shot.
“I was skeptical at first,” Sarah told me, “but once I fired up that power washer, the stain just started to melt away. It was like magic!” And just like that, her driveway was back to its former glory, much to the envy of the rest of the block.
Then there’s the story of my cousin, Joe. Now, Joe is a bit of a do-it-yourselfer, and when he spilled some motor oil in his driveway, he was determined to fix it himself. He tried the kitty litter technique, but it just wasn’t cutting it. So, he decided to get creative.
“I had this old bottle of cooking oil degreaser in the garage,” Joe said, “and I figured, ‘Why not give it a shot?’ Well, let me tell you, that stuff worked like a charm. The stain practically disappeared before my eyes!” Needless to say, Joe was the talk of the family barbecue that weekend.
The moral of these stories? With a little elbow grease, the right tools, and a bit of determination, you can conquer even the most stubborn oil stains. So, what are you waiting for? Get out there and start reclaiming your driveway!
Maintaining a Pristine Driveway: Preventative Measures
Alright, so we’ve covered the ins and outs of fixing an oil stain the right way. But you know what they say – an ounce of prevention is worth a pound of cure. So, let’s talk about some simple steps you can take to keep your driveway looking its best and prevent those pesky oil stains from popping up in the first place.
First and foremost, make sure your car is in tip-top shape. Regular maintenance and tune-ups can help prevent those pesky oil leaks that can stain your driveway. And if you do happen to notice a leak, be sure to address it right away – don’t let it fester and cause even more damage.
Secondly, be mindful of where you park your car. Avoid parking in the same spot on your driveway day after day, as this can lead to a concentrated oil stain. Instead, try to mix it up and spread the love (or the stain, as it were) around.
And finally, consider sealing or resurfacing your driveway every few years. This can help create a barrier that makes it harder for oil and other contaminants to penetrate the surface. It’s a bit of an investment upfront, but trust me, it’s worth it to keep your driveway looking its best.
Remember, prevention is key when it comes to maintaining a pristine driveway. A little bit of proactive care can go a long way in keeping those oil stains at bay. So, what are you waiting for? Get out there and start taking care of your driveway like the champ you are!
Conclusion: Embrace the Oil Stain Challenge
Well, there you have it, my friends – the secrets to fixing an oil stain on your driveway the right way. From understanding the anatomy of the stain to mastering the art of power washing, we’ve covered it all.
And you know what? I actually kind of enjoyed this little adventure. It’s like a good mystery novel, with clues to unravel and challenges to overcome. Sure, it might not be the most glamorous task, but there’s something satisfying about taking on a driveway-cleaning challenge and coming out on top.
So, the next time you spot an unwelcome oil stain on your driveway, don’t see it as a burden – see it as an opportunity. Embrace the challenge, put on your detective hat, and get to work. With a little elbow grease and the right tools, you’ll have that driveway looking better than ever in no time.
And who knows, maybe you’ll even impress the neighbors with your driveway-cleaning prowess. Just don’t forget to share your own success stories – I’d love to hear them! After all, we’re all in this driveway-cleaning journey together.
So, what are you waiting for? Grab your scrub brush, fire up the power washer, and let’s get to work. Your driveway is calling, and it’s time to answer the challenge.
