Driveway Woes: When Cracks Creep In
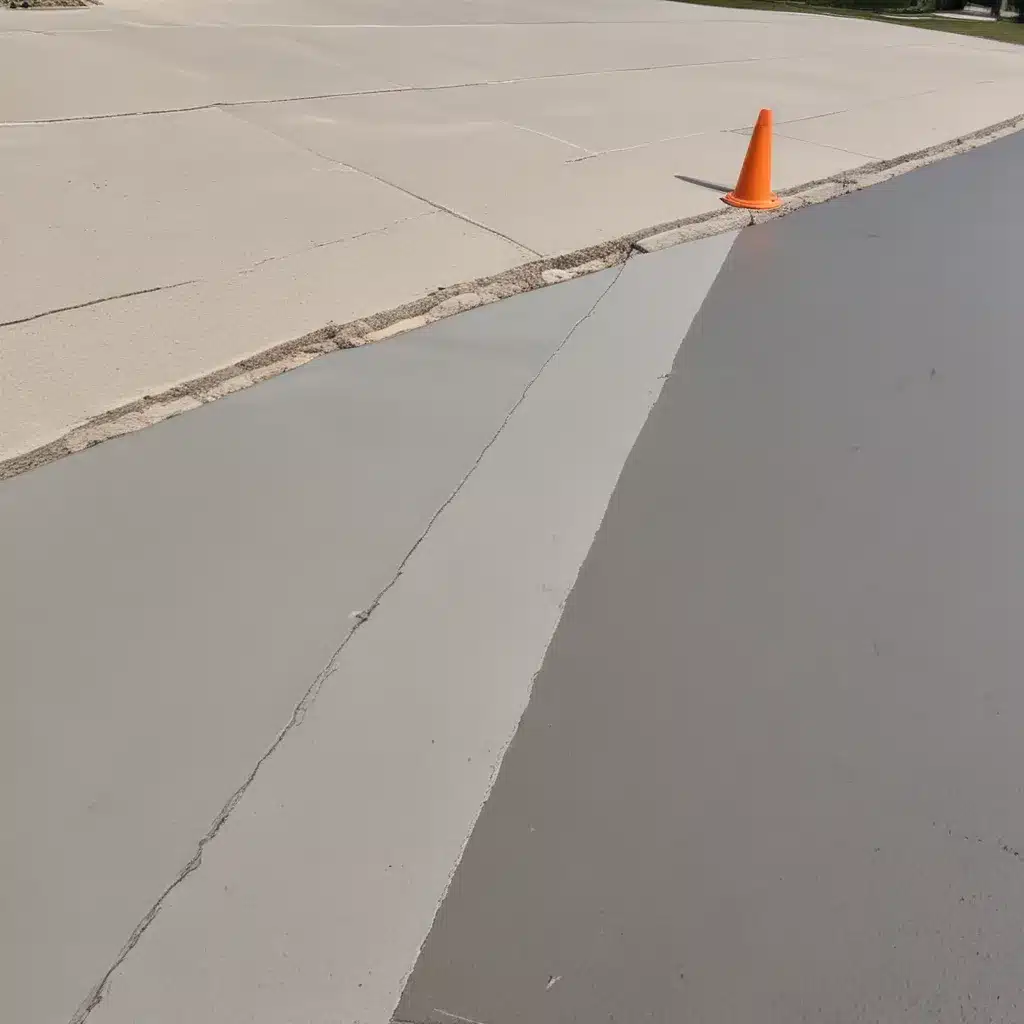
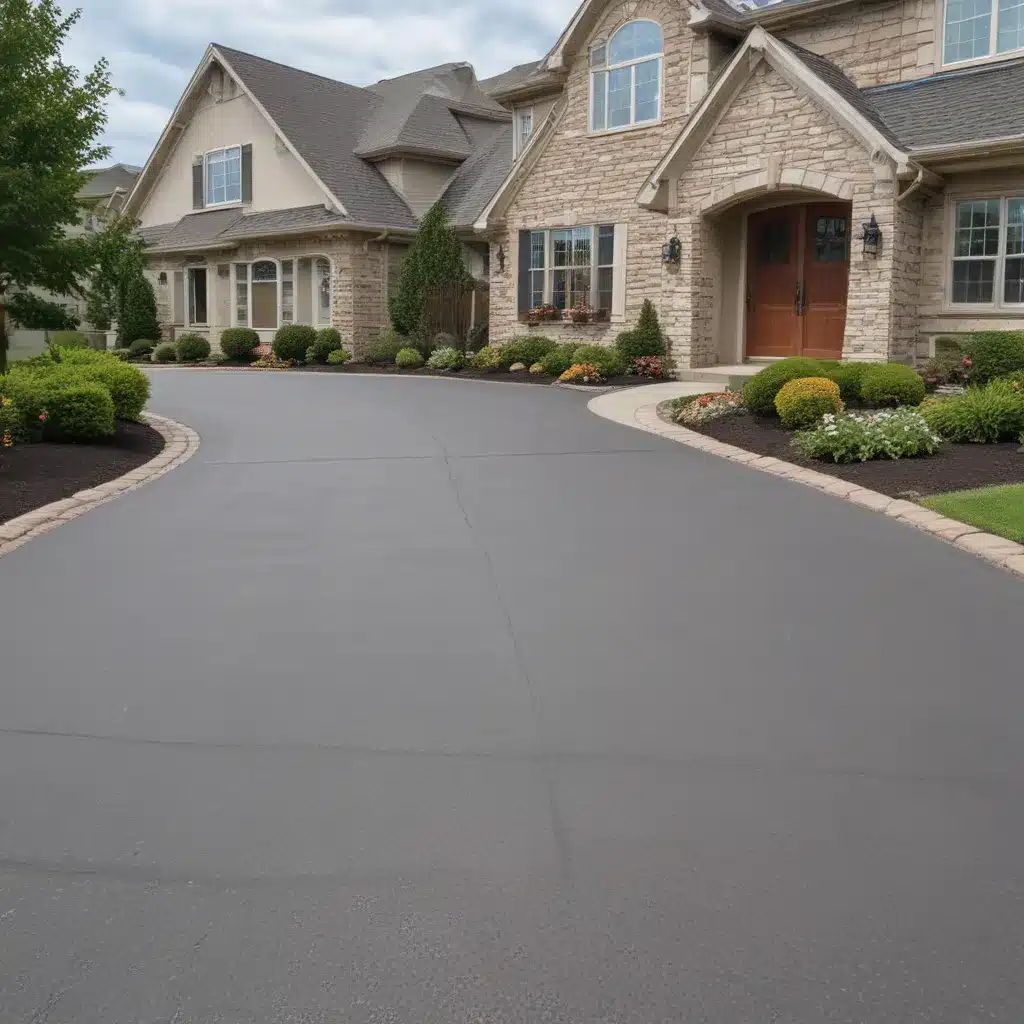
As the proud owner of a freshly poured concrete driveway, I couldn’t wait to admire the sleek, professional look it added to my home’s curb appeal. Little did I know, the battle against unsightly cracks was just around the corner. Concrete, for all its sturdy reputation, is surprisingly vulnerable to the elements – temperature fluctuations, soil shifts, and good old mother nature can wreak havoc on our driveways if we’re not careful.
But fear not, my fellow homeowners! I’ve learned a trick or two that can help us keep those pesky cracks at bay, and it all starts with something called control joints. These unsung heroes of the concrete world are the key to maintaining a smooth, crack-free surface for years to come. Join me as we dive into the world of control joints and discover how they can transform your driveway from cracked and crumbling to sleek and seamless.
Understanding the Role of Control Joints
So, what exactly are control joints, and how do they work their magic? Control joints are essentially pre-determined, strategically placed grooves or divides in the concrete surface. Their purpose? To act as a weak point, allowing the concrete to crack in a controlled, predictable manner.
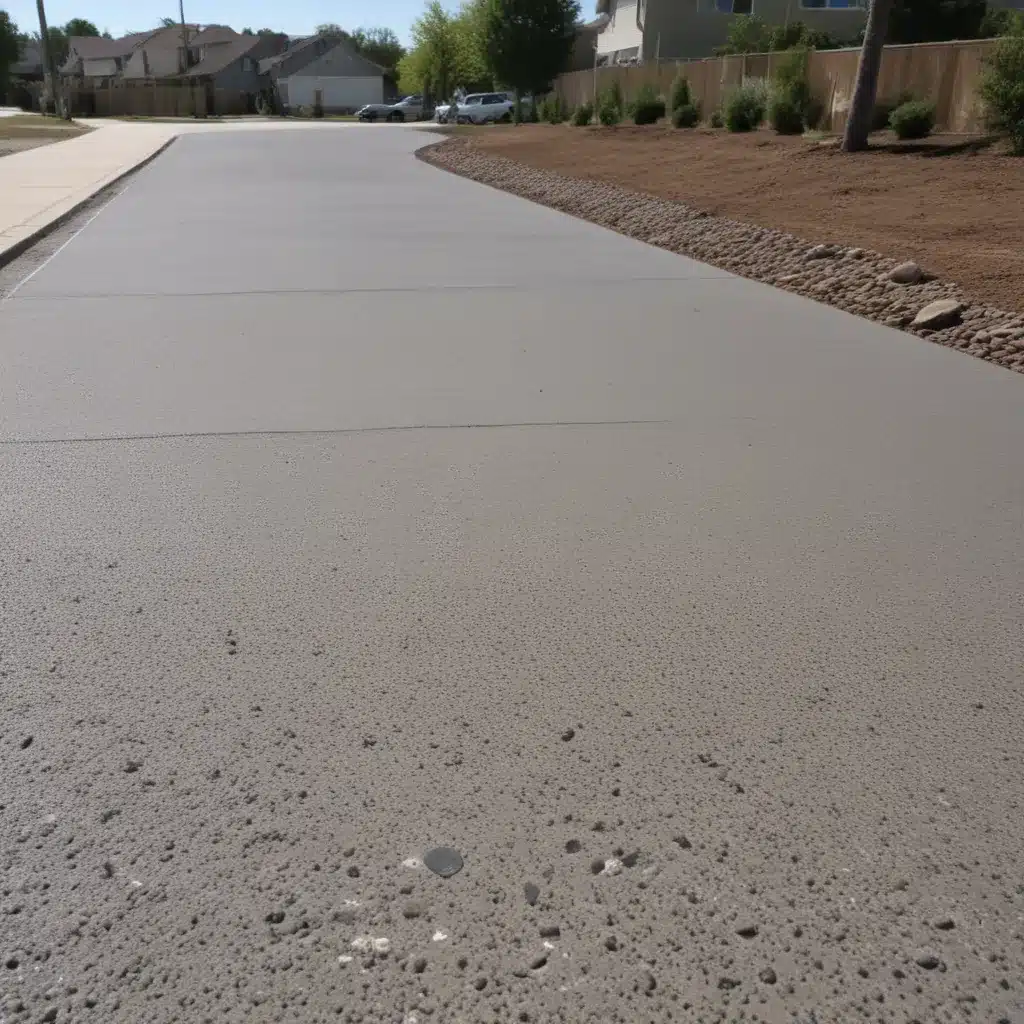
Picture this: your driveway is like a massive slab of rock-hard material, and as it expands and contracts with temperature changes, the stress has to go somewhere. Without control joints, that stress would build up and manifest in random, unsightly cracks, disrupting the entire surface. But with control joints in place, the concrete can “crack” along those designated lines, keeping the damage contained and preserving the overall smooth appearance.
It’s a bit like scoring a piece of glass before you try to break it cleanly – the control joints act as those scored lines, guiding the concrete to crack in a way that’s orderly and aesthetically pleasing. And the best part? When those control joints do their job, any cracks that form are hidden neatly within the grooves, out of sight and out of mind.
The Science Behind Concrete Expansion and Contraction
To truly understand the importance of control joints, we need to delve into the science behind concrete’s behavior. Concrete, for all its strength and durability, is actually quite sensitive to temperature changes. As the mercury rises and falls, the material expands and contracts, putting tremendous stress on the surface.
Imagine a long, unbroken slab of concrete, stretching out under the hot summer sun. As the temperature climbs, the material begins to expand, pushing and pulling against itself. Without any relief valves, so to speak, that stress eventually builds up to the point where the concrete can no longer hold it in and – crack! – a jagged fissure forms across the surface.
Now, picture that same slab on a frigid winter day. As the temperature plummets, the concrete contracts, leaving gaps and voids that can lead to even more cracking and breaking down the line. It’s a vicious cycle, one that control joints are designed to interrupt.
By strategically placing those grooves at regular intervals, we create a series of “expansion joints” that allow the concrete to move and shift without causing catastrophic damage. The material can expand and contract within the confines of the control joints, relieving the built-up pressure and keeping the surface smooth and crack-free.
Proper Placement and Depth of Control Joints
Of course, for control joints to do their job effectively, they need to be installed just right. Placement and depth are key, and it’s not a one-size-fits-all solution. The optimal spacing and depth of the control joints can vary depending on factors like:
- The thickness of the concrete slab
- The expected level of foot and vehicle traffic
- The climate and soil conditions in your area
As a general rule of thumb, control joints should be spaced no more than 10-15 feet apart, and the depth should be at least 25% of the total slab thickness. So, for a 4-inch thick driveway, the control joints should be cut to a depth of 1 inch or more.
But that’s just the starting point. In areas with extreme temperature swings or heavy use, you may need to space the control joints even closer together, or cut them deeper to ensure the concrete can move and shift without cracking. And don’t forget to align the joints with any expansion joints in your foundation or surrounding concrete work – that continuity is crucial for maintaining a seamless look.
It’s a delicate balance, but get the control joint placement and depth just right, and you’ll be rewarded with a driveway that laughs in the face of temperature changes and weathering. No more unsightly cracks to worry about!
Real-World Examples: Seeing Control Joints in Action
Still not convinced of the power of control joints? Let me share a couple of real-world examples that demonstrate their effectiveness.
Take the case of my neighbor, Dave. His driveway was a patchwork of cracks and fissures, a testament to the toll that Mother Nature had taken. But when he decided to repave, he made sure to incorporate properly spaced control joints throughout the new concrete slab. Two years later, Dave’s driveway is as smooth and unblemished as the day it was poured – not a crack in sight!
And then there’s the story of the community center down the street. When they first installed their concrete parking lot, they skimped on the control joints, spacing them too far apart. Sure enough, within a year, the lot was a mess of cracks and uneven surfaces, creating hazards for pedestrians and causing headaches for the maintenance crew.
But they learned their lesson. When it came time to repave, the control joints were given the attention they deserved. The new lot features a grid of evenly spaced, carefully cut grooves that have allowed the concrete to expand and contract without any unsightly damage. It’s a testament to the power of these humble yet essential features.
Maintaining Your Driveway’s Crack-Free Status
Of course, even with control joints in place, your driveway is still vulnerable to the ravages of time and the elements. But fear not, there are steps you can take to keep those cracks at bay for the long haul.
First and foremost, keep an eye on those control joints themselves. Over time, the sealant or filler material that’s meant to occupy the grooves can deteriorate, leaving them vulnerable. Be sure to inspect your driveway regularly and re-apply the sealant as needed, keeping those control joints in tip-top shape.
And don’t forget about the surrounding area. Cracks can also form due to issues with the soil, drainage, or even tree roots pushing up against the concrete. Stay vigilant, keeping an eye out for signs of trouble, and address any issues promptly before they manifest as unsightly cracks.
With a little bit of proactive maintenance and a healthy respect for the power of control joints, you can keep your driveway looking fresh and crack-free for years to come. It’s the key to preserving your home’s curb appeal and protecting your investment in that beautiful concrete slab.
So, the next time you find yourself staring at a cracked driveway, remember the humble control joint and all the magic it can work. It may just be the solution to your concrete woes!

