The Trouble with Concrete Cracks
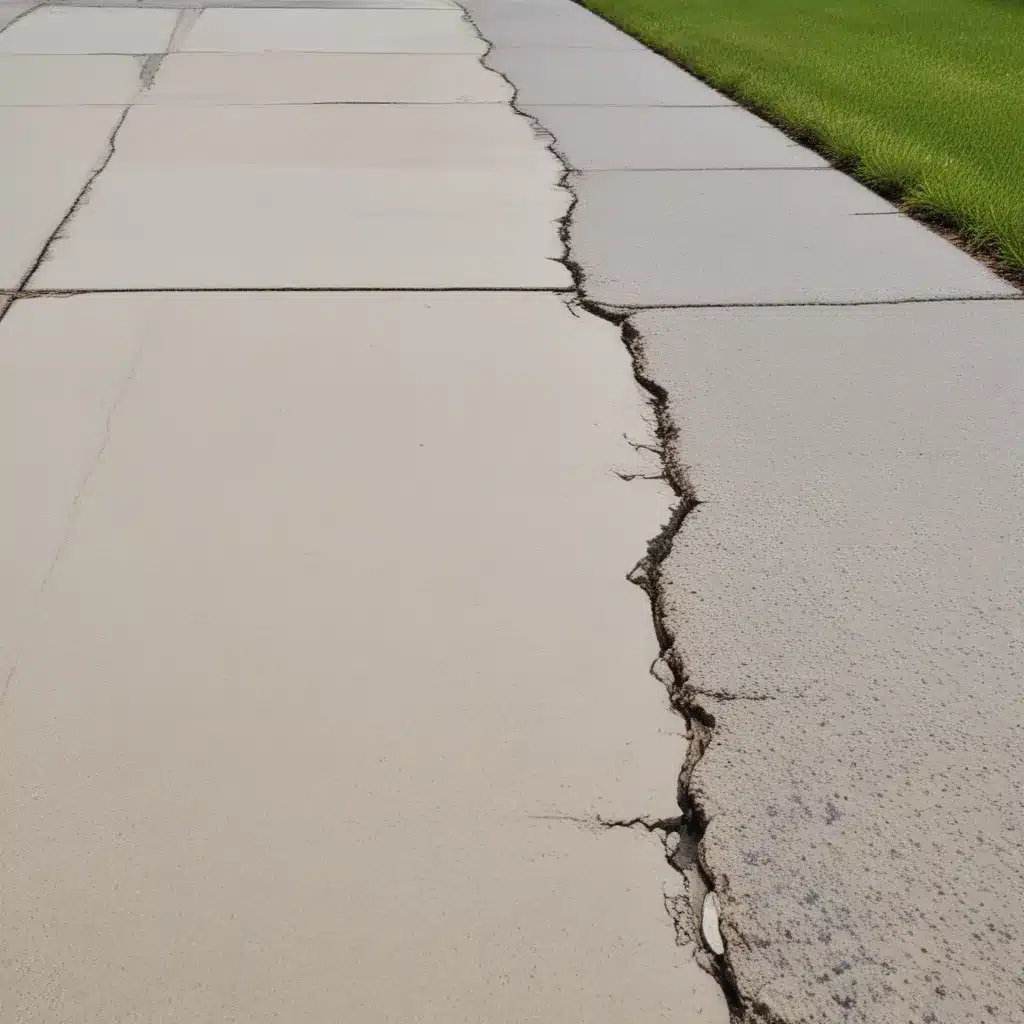
Ah, the joys of homeownership – where the grass is always greener (or, in my case, the driveway is always cracked)! As a proud owner of a concrete driveway in Warrington, I’ve had my fair share of encounters with those pesky cracks. They start off small, like little spider webs crawling across the surface, and before you know it, they’ve grown into gaping chasms that could swallow up your car’s tyre.
But fear not, my fellow driveway enthusiasts! I’ve gathered a wealth of knowledge on the art of repairing concrete cracks, and I’m here to share it with you. After all, a well-maintained driveway not only enhances the curb appeal of your home but also ensures the safety of your loved ones (and your tyres!).
Identifying the Culprits
The first step in tackling those concrete cracks is to understand what’s causing them. You see, concrete is a sturdy material, but it’s not indestructible. Over time, it can succumb to the elements, weathering, and good old-fashioned wear and tear. Factors like temperature fluctuations, soil movement, and even tree roots can all contribute to the development of those unsightly cracks.
By taking a close look at the pattern and location of the cracks, you can often pinpoint the underlying issue. For example, if the cracks are running parallel to each other, it could be a sign of soil settlement. Conversely, if they’re radiating outwards from a central point, it might be due to a problem with the concrete’s expansion and contraction.
Preparing for the Repair
Now that we’ve identified the culprits, it’s time to get our hands dirty (or, at the very least, our gloves dirty). Before we can start the repair process, we need to make sure the area is clean and free of any debris or loose material. This means giving the driveway a good sweep and, if necessary, a thorough power wash.
Next, we’ll need to choose the right tools for the job. Depending on the size and depth of the cracks, you might need a chisel, a grinder, or even a concrete saw to properly prepare the area. And let’s not forget the all-important crack filler – the secret weapon that will transform your driveway from a patchwork of unsightly blemishes to a smooth, cohesive surface.
The Repair Process
With our tools and materials at the ready, it’s time to put on our contractor hats and get to work. The first step is to widen and deepen the crack, creating a V-shaped groove that will help the filler adhere better to the surrounding concrete. Be careful not to go overboard, though – you don’t want to end up with a gaping hole in your driveway!
Next, it’s time to give the area a good clean, using a stiff-bristled brush to remove any loose debris or dust. This will ensure that the filler has a nice, clean surface to bond with.
Now, the moment we’ve all been waiting for – the application of the crack filler! Depending on the size of the crack, you might need to apply multiple layers, allowing each one to dry completely before moving on to the next. It’s a bit like painting a wall – you want to make sure you’ve got good coverage and a smooth, even finish.
Finishing Touches
Once the filler has had a chance to set, it’s time to give the repaired area a final once-over. Depending on the product you’ve used, you might need to apply a sealant or topcoat to protect the repair and help it blend in seamlessly with the rest of the driveway.
And there you have it, folks – your very own step-by-step guide to repairing concrete driveway cracks. Of course, if the damage is more extensive or you’re not quite sure where to start, I’d always recommend consulting with a professional. After all, a well-maintained driveway is the foundation of a happy, healthy home (and a safe haven for your tyres).
Now, if you’ll excuse me, I’ve got some cracks to fill. Happy repairing, my fellow driveway enthusiasts!

