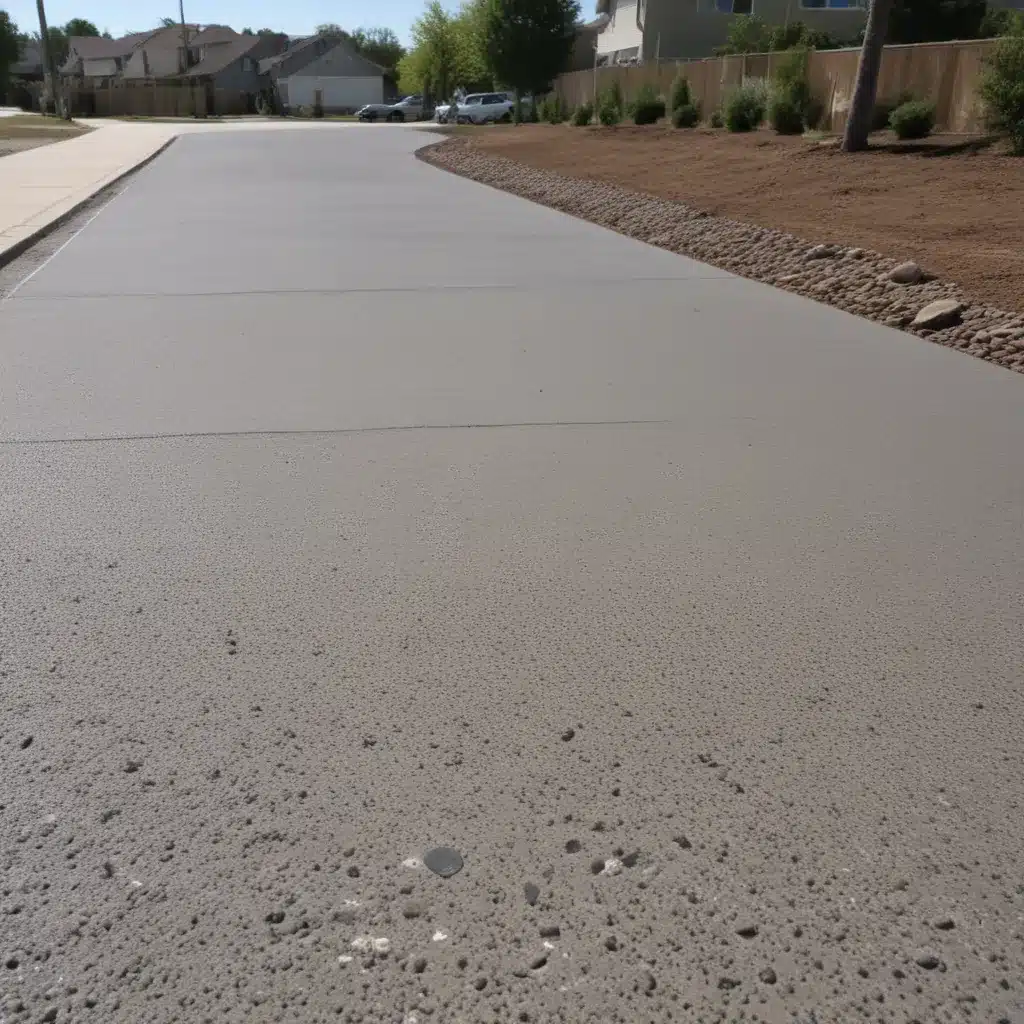
The Importance of Driveway Edging and Borders
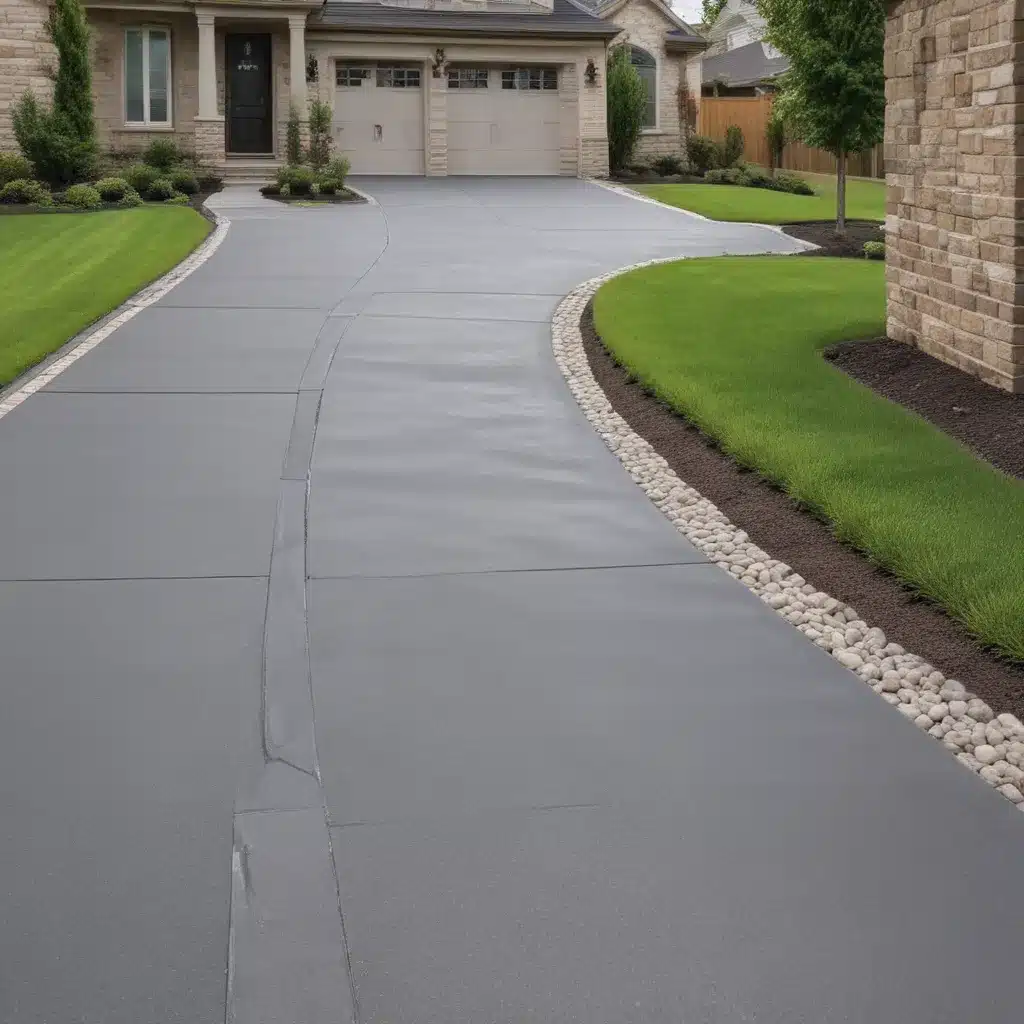
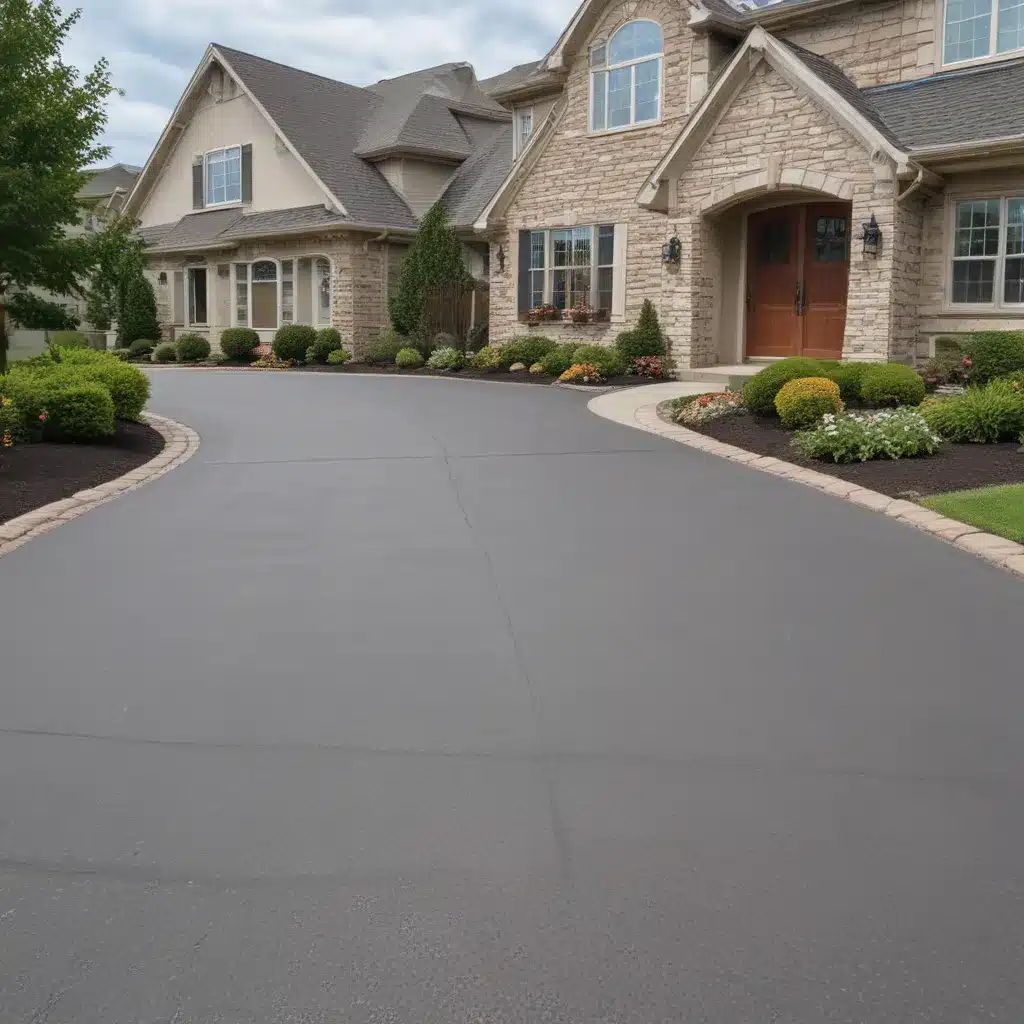
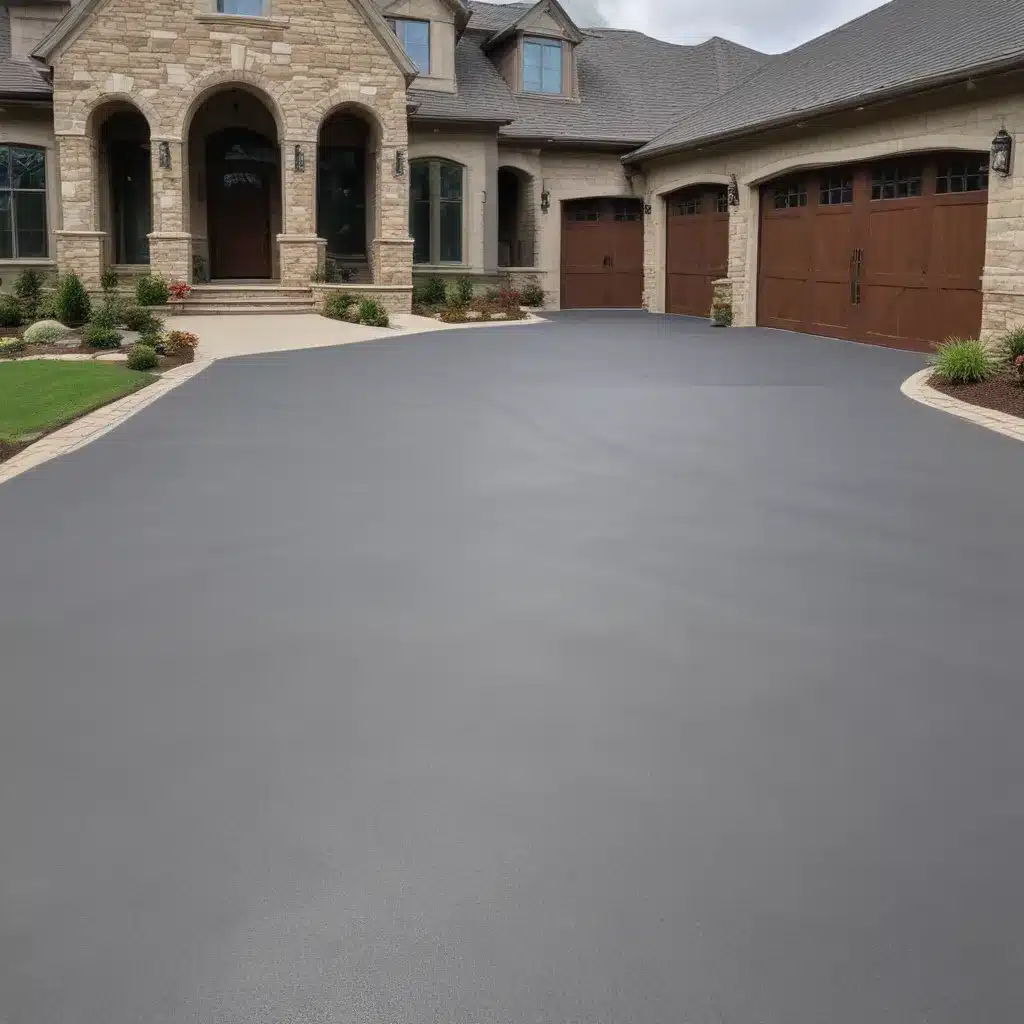
As the old saying goes, “first impressions are everything.” And when it comes to your home, your driveway is often the first thing people see. That’s why taking the time to properly edge and define your driveway borders is so crucial. Not only does it enhance the curb appeal of your property, but it also serves a practical purpose in keeping your driveway looking tidy and well-maintained.
Think about it – when you pull up to a house and the driveway is all cracked, overgrown, and indistinct, it can instantly give the impression that the homeowner doesn’t care much about the upkeep of their property. On the other hand, a driveway with clean, crisp edges and clearly defined borders conveys a sense of pride and attention to detail.
But beyond just aesthetics, driveway edging and bordering also play an important role in functionality. Properly contained edges help to prevent gravel, mulch, or grass from spilling out onto the driveway surface, which can create a messy, unkempt look. They also act as a barrier to keep weeds and other vegetation from encroaching onto the driveway, preserving the integrity of the surface material.
So if you’re looking to take your driveway game to the next level, read on for my top tips on how to edge and define your driveway borders like a pro.
Choosing the Right Edging Material
The first step in getting your driveway borders looking their best is selecting the right edging material. There are a few different options to choose from, each with their own unique benefits:
Concrete Curbing
Concrete curbing is a classic choice for driveway edging that provides a clean, polished look. It’s extremely durable and long-lasting, able to withstand heavy traffic and weathering without cracking or crumbling. Concrete curbing also offers excellent containment, keeping gravel, mulch, and grass securely in place.
The downside of concrete curbing is that it can be one of the more expensive edging options upfront. Installation also typically requires the expertise of a professional, as forming and pouring the concrete correctly is crucial for achieving a seamless, visually appealing result.
Brick or Stone Edging
For a more natural, rustic aesthetic, brick or stone edging can be a beautiful choice. These materials come in a wide variety of colors and styles, allowing you to find an option that complements the overall look and feel of your home and landscape.
Brick and stone edging are generally more DIY-friendly than concrete, making them a good option if you’re looking to tackle the project yourself. They do require a bit more maintenance, however, as the individual bricks or stones can become dislodged over time.
Aluminum or Steel Edging
Metal edging, such as aluminum or steel, is a sleek and modern option that’s growing increasingly popular. These materials are incredibly durable and long-lasting, and they provide a crisp, clean look to driveway borders.
One of the biggest advantages of metal edging is its ease of installation. Most aluminum and steel options simply need to be hammered or staked into the ground, making them a great choice for DIYers. They’re also relatively low maintenance, as they’re resistant to rust and won’t rot or deteriorate over time.
The downside of metal edging is that it can be more expensive than some other options. It also has a more industrial aesthetic that may not suit every home’s style.
Landscaping Timbers or Logs
For a more rustic, natural feel, you could consider using landscaping timbers or logs as your driveway edging. This is a budget-friendly option that can lend a charming, countryside vibe to your property.
Timbers and logs are easy to install and maintain, and they can be customized to complement the surrounding landscape. However, they may not provide as clean or contained of an edge as some of the other materials, and they’ll likely need to be replaced more frequently as they weather and decay over time.
Ultimately, the best edging material for your driveway will come down to your personal style preferences, budget, and the level of maintenance you’re willing to commit to. It’s a good idea to weigh the pros and cons of each option before making your decision.
Preparing the Edging Surface
Once you’ve selected your preferred edging material, the next step is to properly prepare the surface where the edging will be installed. This is a crucial step that can make or break the final look and longevity of your driveway borders.
Clearing the Area
The first thing you’ll need to do is clear the area where the edging will be placed. This means removing any existing grass, weeds, or other vegetation that might be growing in the way. You can use a shovel, hoe, or even a weed trimmer to clear the area, making sure to dig down a few inches to get a nice, clean surface.
Leveling the Ground
After clearing the area, you’ll want to make sure the ground is level and compact. Use a tamping tool or a plate compactor to smooth out any uneven spots or bumps. This will provide a stable, supportive base for your edging material, ensuring it stays in place and looking its best.
Laying a Gravel Base
For added stability and drainage, it’s a good idea to lay down a thin layer of gravel or crushed stone before installing your edging. This will help prevent the edging from sinking or shifting over time, and it will also allow water to drain away from the driveway surface more effectively.
Digging a Trench
Depending on the type of edging you’re using, you may need to dig a shallow trench to set the material into. This is especially important for heavier materials like concrete curbing or stone, as it will help them stay firmly in place and create a seamless, level transition between the edging and the driveway.
By taking the time to properly prepare the surface, you’ll be setting your driveway edging up for long-lasting success. It may seem like a bit of extra work upfront, but trust me, it’s well worth the effort for the polished, professional look you’ll achieve in the end.
Techniques for Edging and Defining Borders
Now that you’ve got the surface ready, it’s time to start installing your driveway edging. Depending on the material you’ve chosen, the process may vary slightly, but there are a few key techniques that can help you get the job done right.
Laying Concrete Curbing
If you’ve opted for concrete curbing, you’ll likely want to enlist the help of a professional contractor to handle the installation. Pouring and shaping the concrete correctly is crucial for achieving a seamless, uniform look.
The contractor will typically start by digging a trench along the driveway edge, then forming and pouring the concrete into the trench. They’ll use specialized tools to smooth and shape the curb, ensuring it has a clean, consistent appearance.
One tip I can offer for concrete curbing is to consider adding some decorative elements, like a stamped or textured finish, to really make it pop. This can take your driveway edging to the next level and give it a truly custom, high-end look.
Installing Brick or Stone Edging
Brick and stone edging are a bit more DIY-friendly than concrete, but they still require some careful planning and attention to detail. Start by marking out the area where you want to place the edging, then dig a shallow trench to set the bricks or stones into.
Lay the first row of bricks or stones level and flush with the driveway surface, making sure to stagger the joints for added stability. As you build up the rows, use a rubber mallet to gently tap the pieces into place and keep them level.
For a professional-looking finish, you may want to use a mortar or concrete mix to secure the bricks or stones in place. This will help prevent them from shifting or becoming dislodged over time.
Putting in Metal Edging
Metal edging, like aluminum or steel, is one of the easiest types of driveway borders to install. Simply mark out the area, then use a mallet or rubber hammer to drive the edging pieces into the ground, making sure they’re level and flush with the driveway surface.
Many metal edging products come with stake or spike attachments that you can use to further secure the pieces in place. Just be sure to follow the manufacturer’s instructions carefully for the best results.
One thing to keep in mind with metal edging is that you’ll want to make sure the pieces are properly joined together, either by overlapping the ends or using specialized connectors. This will help prevent gaps or uneven transitions along the border.
Utilizing Landscaping Timbers or Logs
For a more rustic, natural look, you can use landscaping timbers or logs as your driveway edging. The installation process is relatively straightforward – simply lay the timbers or logs end-to-end along the driveway edge, sinking them a few inches into the ground for stability.
You may want to use a saw or axe to trim the ends of the timbers or logs so they fit together seamlessly. You can also consider adding some decorative touches, like carving notches or grooves into the wood.
Keep in mind that timbers and logs will likely need to be replaced more frequently than some of the other edging materials, as they’re more susceptible to weathering and decay. But if you’re going for a charming, old-world vibe, this can be a great option.
Whichever edging material you choose, the key is to take your time and pay close attention to the details. By following these techniques, you’ll be well on your way to creating clean, crisp driveway borders that truly elevate the look and feel of your property.
Maintaining and Refreshing Your Driveway Borders
Once you’ve got your driveway edging and borders all set up, the work isn’t quite done yet. Proper maintenance and occasional refreshing are crucial for keeping your driveway looking its best year after year.
Regular Cleaning and Weeding
One of the most important maintenance tasks for driveway borders is regular cleaning and weeding. Over time, dirt, debris, and even weeds can start to accumulate along the edges, detracting from the polished appearance you’ve worked so hard to achieve.
Make it a habit to routinely check your driveway borders and remove any overgrown vegetation or unsightly debris. A simple hand tool like a hoe or cultivator can make this task a breeze.
Repairing Damage and Chips
Depending on the material you’ve used for your driveway edging, you may occasionally need to make some minor repairs. Concrete curbing, for example, can sometimes develop cracks or chips, while brick and stone edging may become dislodged over time.
Addressing these issues promptly is important to maintain the structural integrity and visual appeal of your borders. Patching small cracks in concrete or resetting loose bricks or stones can go a long way in keeping your driveway looking its best.
Refreshing the Appearance
Even if your driveway edging and borders are in good structural shape, they may start to look a bit weathered or faded over time. Refreshing the appearance can be as simple as giving the edging a good cleaning, or you may want to consider applying a fresh coat of paint or sealant.
For concrete curbing, a concrete sealer can help protect the surface and keep it looking like new. Brick and stone edging can benefit from a good scrubbing with a stiff-bristle brush and some mild detergent. And for metal edging, a quick coat of rust-resistant paint can work wonders.
By staying on top of regular maintenance and being proactive about refreshing your driveway borders, you can ensure they continue to look their absolute best for years to come. It’s a small investment of time and effort that can pay huge dividends in terms of curb appeal and property value.
The Driveway Services Difference
Now, I know what you might be thinking – all of this driveway edging and border maintenance sounds like a lot of work! And you’d be right. It can be a time-consuming and sometimes physically demanding task, especially for larger properties.
That’s where the team here at https://www.driveways-warrington.co.uk/ comes in. As the premier driveway services provider in the area, we’ve got the expertise, equipment, and manpower to handle all of your driveway edging and border needs, from the initial installation to ongoing maintenance and refreshing.
Our skilled technicians will work closely with you to choose the perfect edging material and design for your home, then expertly install it to ensure a clean, seamless look that lasts. And when it comes time for maintenance, you can count on us to keep your driveway borders in tip-top shape, saving you the time and hassle of doing it yourself.
But don’t just take my word for it. Check out some of the rave reviews our customers have left about our driveway services:
“The team at https://www.driveways-warrington.co.uk/ did an incredible job installing new concrete curbing around my driveway. It looks absolutely stunning and has really elevated the entire look of my property.” – Sarah, Warrington
“I was dreading having to maintain my driveway borders, but the https://www.driveways-warrington.co.uk/ crew made it a breeze. They come out regularly to keep everything looking pristine, and I couldn’t be happier with the results.” – Tom, Runcorn
“Hands down the best driveway services company I’ve ever worked with. The attention to detail and level of professionalism is unmatched. Highly recommend them to anyone in the market for driveway edging or maintenance.” – Olivia, Widnes
So if you’re ready to take your driveway game to the next level with some expertly installed and maintained borders, give the team at https://www.driveways-warrington.co.uk/ a call. We’ll be happy to provide a free, no-obligation quote and get started on transforming the look of your property.
