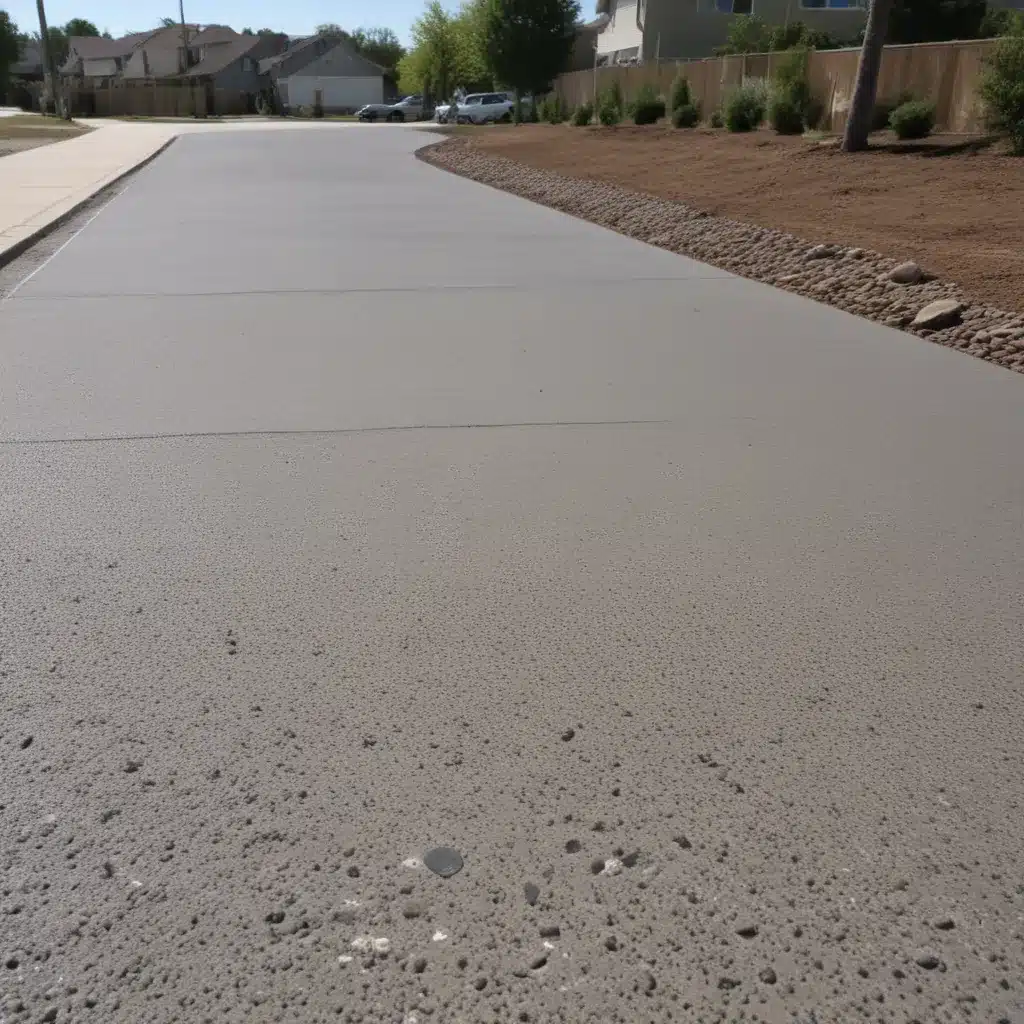
As we move towards a more sustainable future, the use of pervious concrete in construction has become increasingly popular. Pervious concrete is a type of concrete that allows water to pass through it, rather than pooling on the surface. This makes it an ideal choice for driveways, as it not only looks great but also helps to prevent flooding and erosion.
In this article, we will explore the benefits of using pervious concrete for your driveway and provide you with a step-by-step guide on how to install it yourself.
What is Pervious Concrete?
Pervious concrete is a type of concrete that is designed to allow water to pass through it, rather than pooling on the surface. It is made by removing the fine particles from the concrete mixture, which creates a porous material that allows water to flow through.
Benefits of Pervious Concrete for Your Driveway
There are many benefits to using pervious concrete for your driveway. Firstly, it helps to prevent flooding and erosion by allowing water to pass through it and into the ground below. This is particularly important in areas that are prone to heavy rainfall or flash flooding.
Secondly, pervious concrete is a great choice for the environment. By allowing water to pass through it, it helps to recharge the groundwater supply and reduce the amount of water that runs off into storm drains and rivers.
Finally, pervious concrete is a durable and long-lasting material that can withstand heavy traffic and extreme weather conditions. It is also easy to maintain and requires minimal upkeep.
How to Install Pervious Concrete for Your Driveway
Installing pervious concrete for your driveway is a relatively simple process that can be done by any competent DIY enthusiast. Here is a step-by-step guide on how to install it yourself:
Step 1: Prepare the Surface
The first step in installing pervious concrete is to prepare the surface. This involves removing any existing pavement or debris and ensuring that the surface is level and free from any obstructions.
Step 2: Install a Base Layer
Once the surface is prepared, you will need to install a base layer of crushed stone or gravel. This will provide a stable foundation for the pervious concrete and help to ensure that it drains properly.
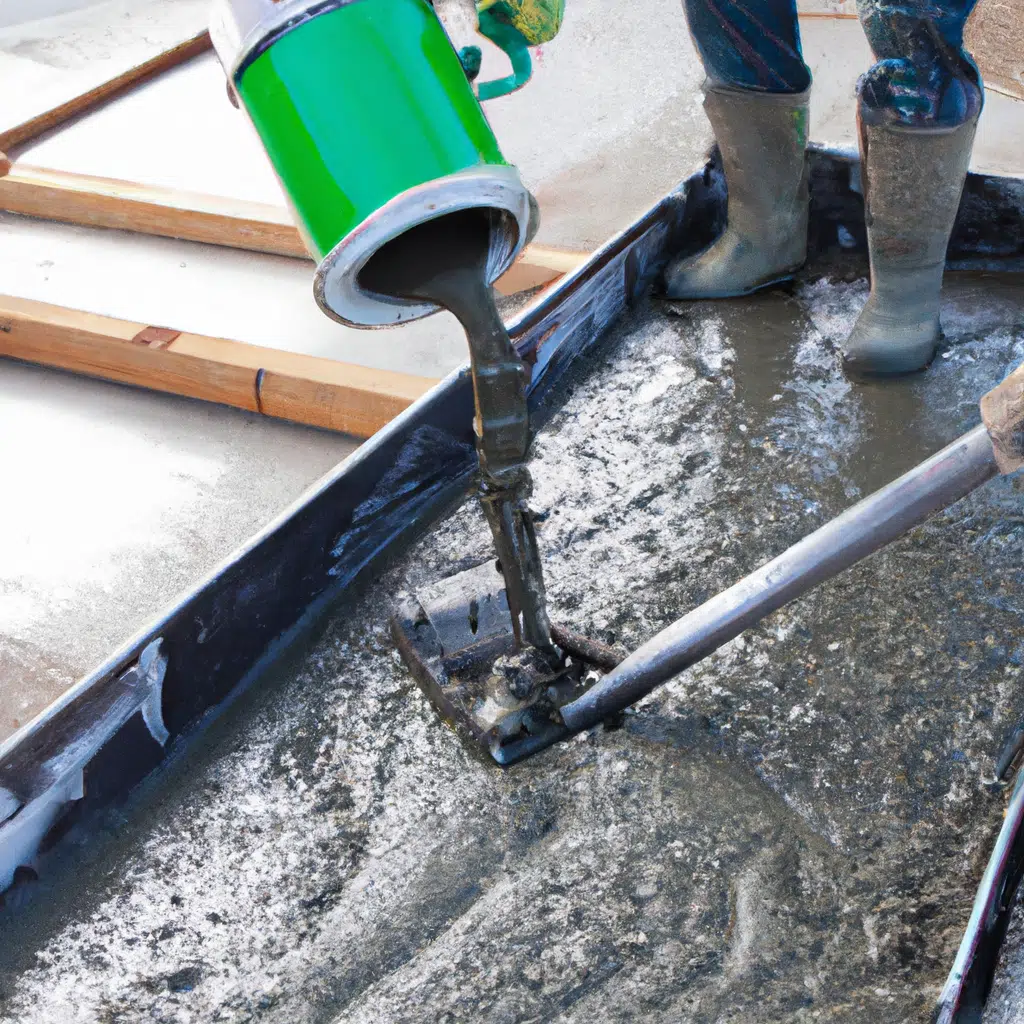
Step 3: Mix and Pour the Pervious Concrete
Next, you will need to mix the pervious concrete according to the manufacturer’s instructions and pour it onto the prepared surface. It is important to work quickly and efficiently to ensure that the concrete does not begin to set before it is fully poured.
Step 4: Smooth and Level the Concrete
Once the concrete is poured, you will need to use a trowel to smooth and level the surface. It is important to ensure that the surface is level and free from any bumps or ridges.
Step 5: Allow the Concrete to Cure
Finally, you will need to allow the pervious concrete to cure for several days before using it. During this time, it is important to keep the surface moist to ensure that the concrete cures properly.
Conclusion
In conclusion, pervious concrete is an excellent choice for anyone looking to install a new driveway. Its environmental benefits, durability, and low maintenance make it a great investment for any homeowner. By following the simple steps outlined in this article, you can install pervious concrete for your driveway yourself and enjoy all of its benefits for years to come.


